Anatomy of a Pressure Vessel
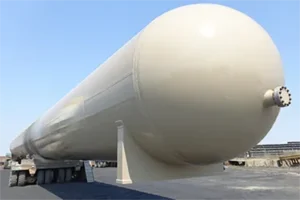
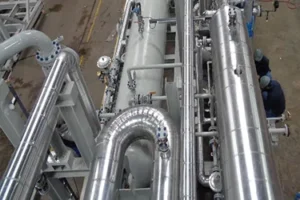
Decundi was awarded a contract from one of its clients to procure and carry out an inspection of three (3) heavy wall pressure vessels, and the narrative below is related to the Anatomy [from start to finish] of a pressure vessel as required by ASME Section V Division 1 and in other cases, ASME Section V Division 2.
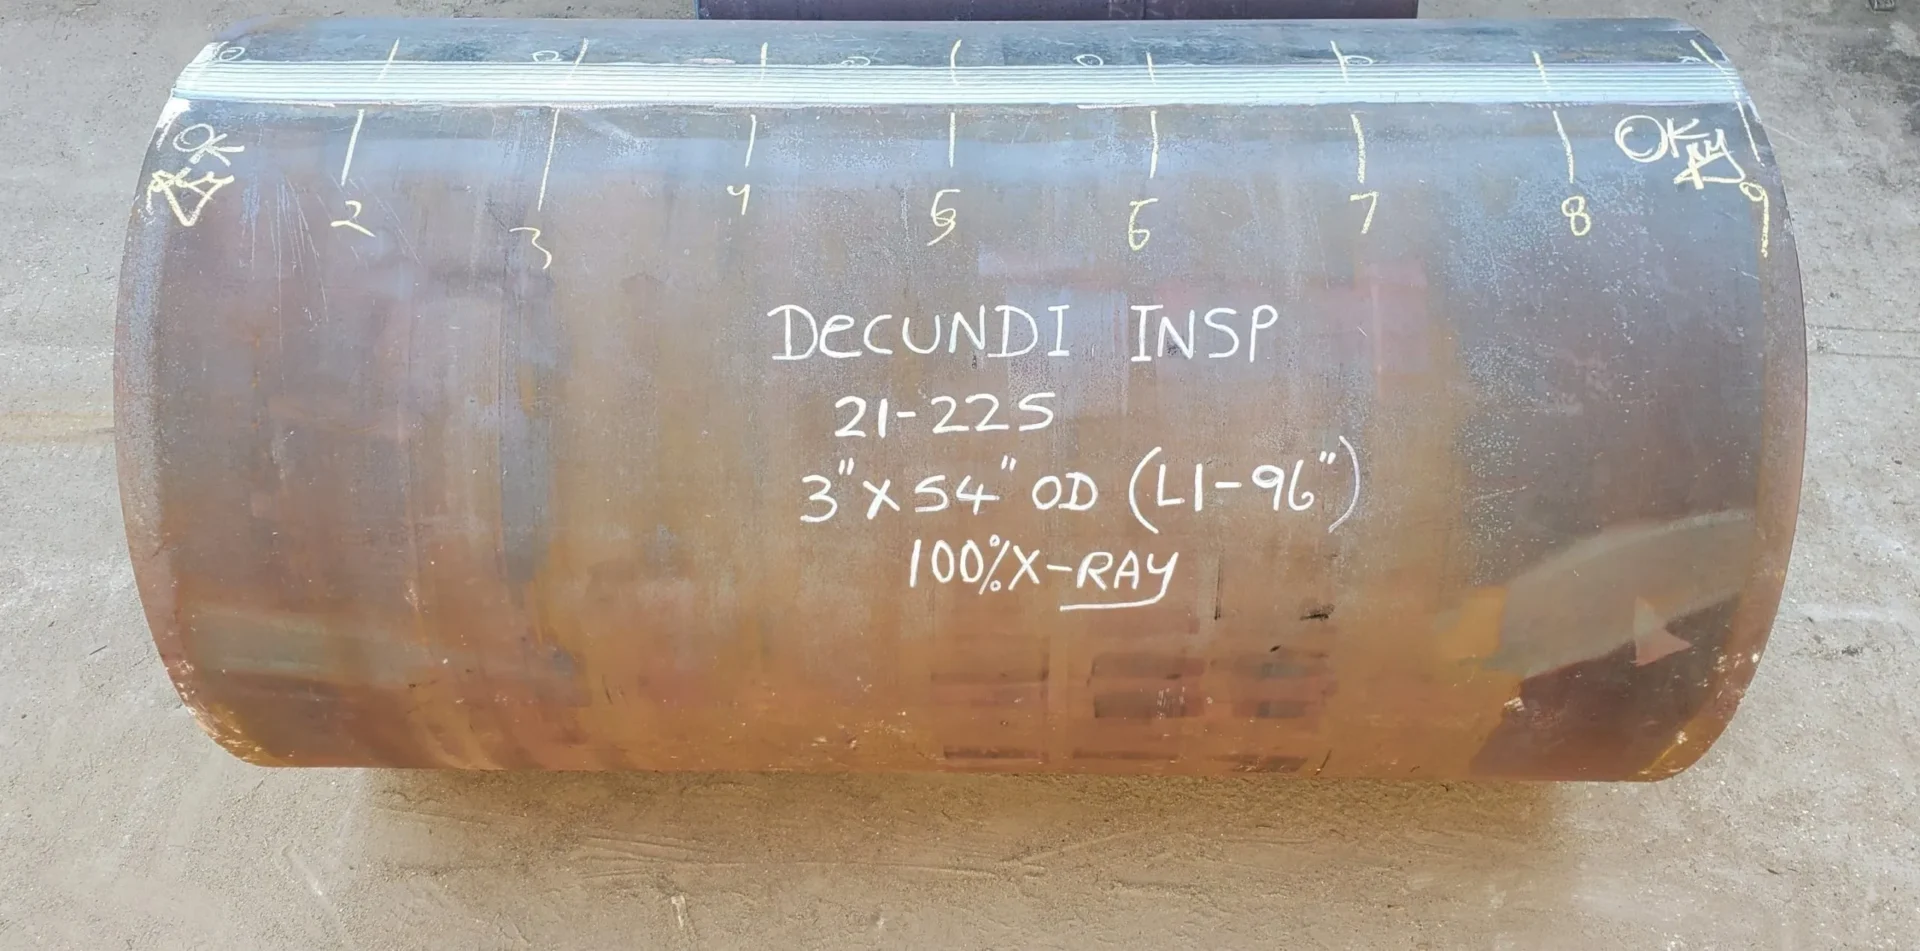
Prior to the fabrication of pressure vessels in this example, a 3" thick X 54″ O.D. by specified tangent-to-tangent length, that Decundi inspection personnel schedule and facilitate a pre-inspection meeting (PIM) with the vessel fabricator and the PIM is carried out for assurance that all parties in attendance at this meeting are in agreement with the scope of work, codes, standards, drawings, ITP, testing procedures and other documents associated with the fabrication and testing of the pressure vessels.
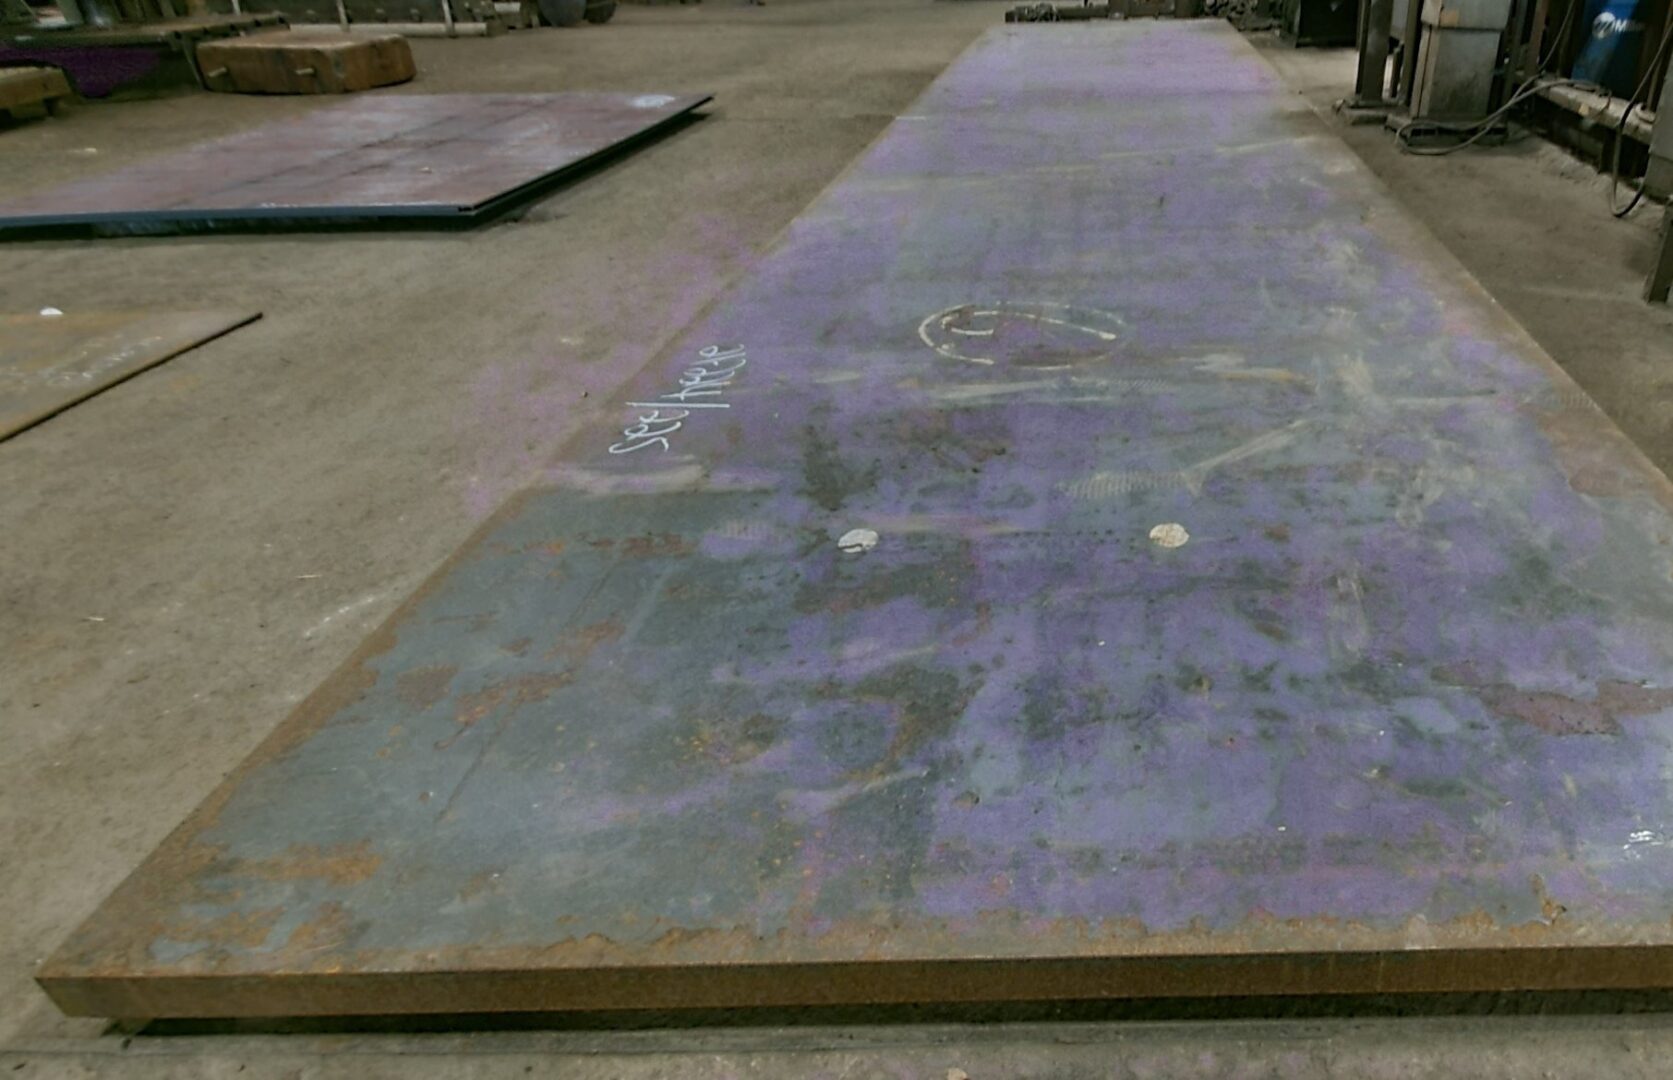
At the start of fabrication, the Decundi inspector carries out an inspection for the shell plate to be rolled into cylinders (shell can), and in this regard, we carry out an inspection for assurance that the shell plate(s) are new and are free of pitting, corrosion, and gouges on both side of the shell plate.
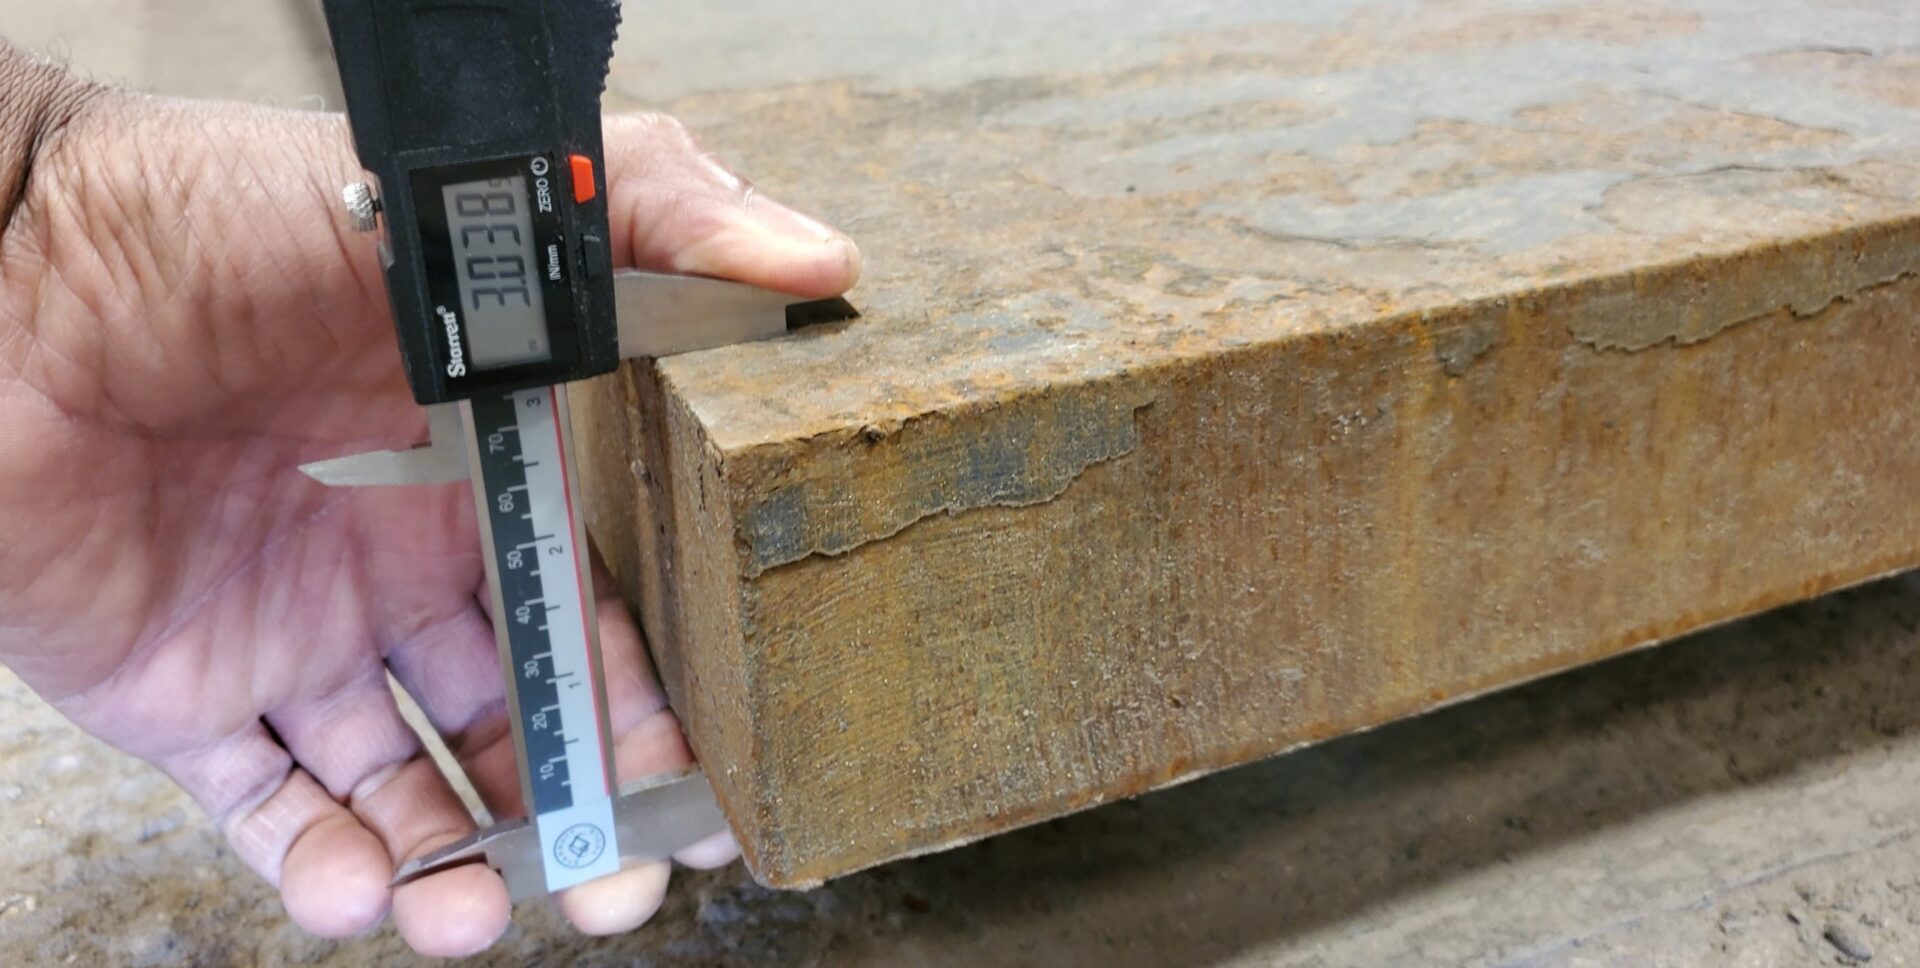
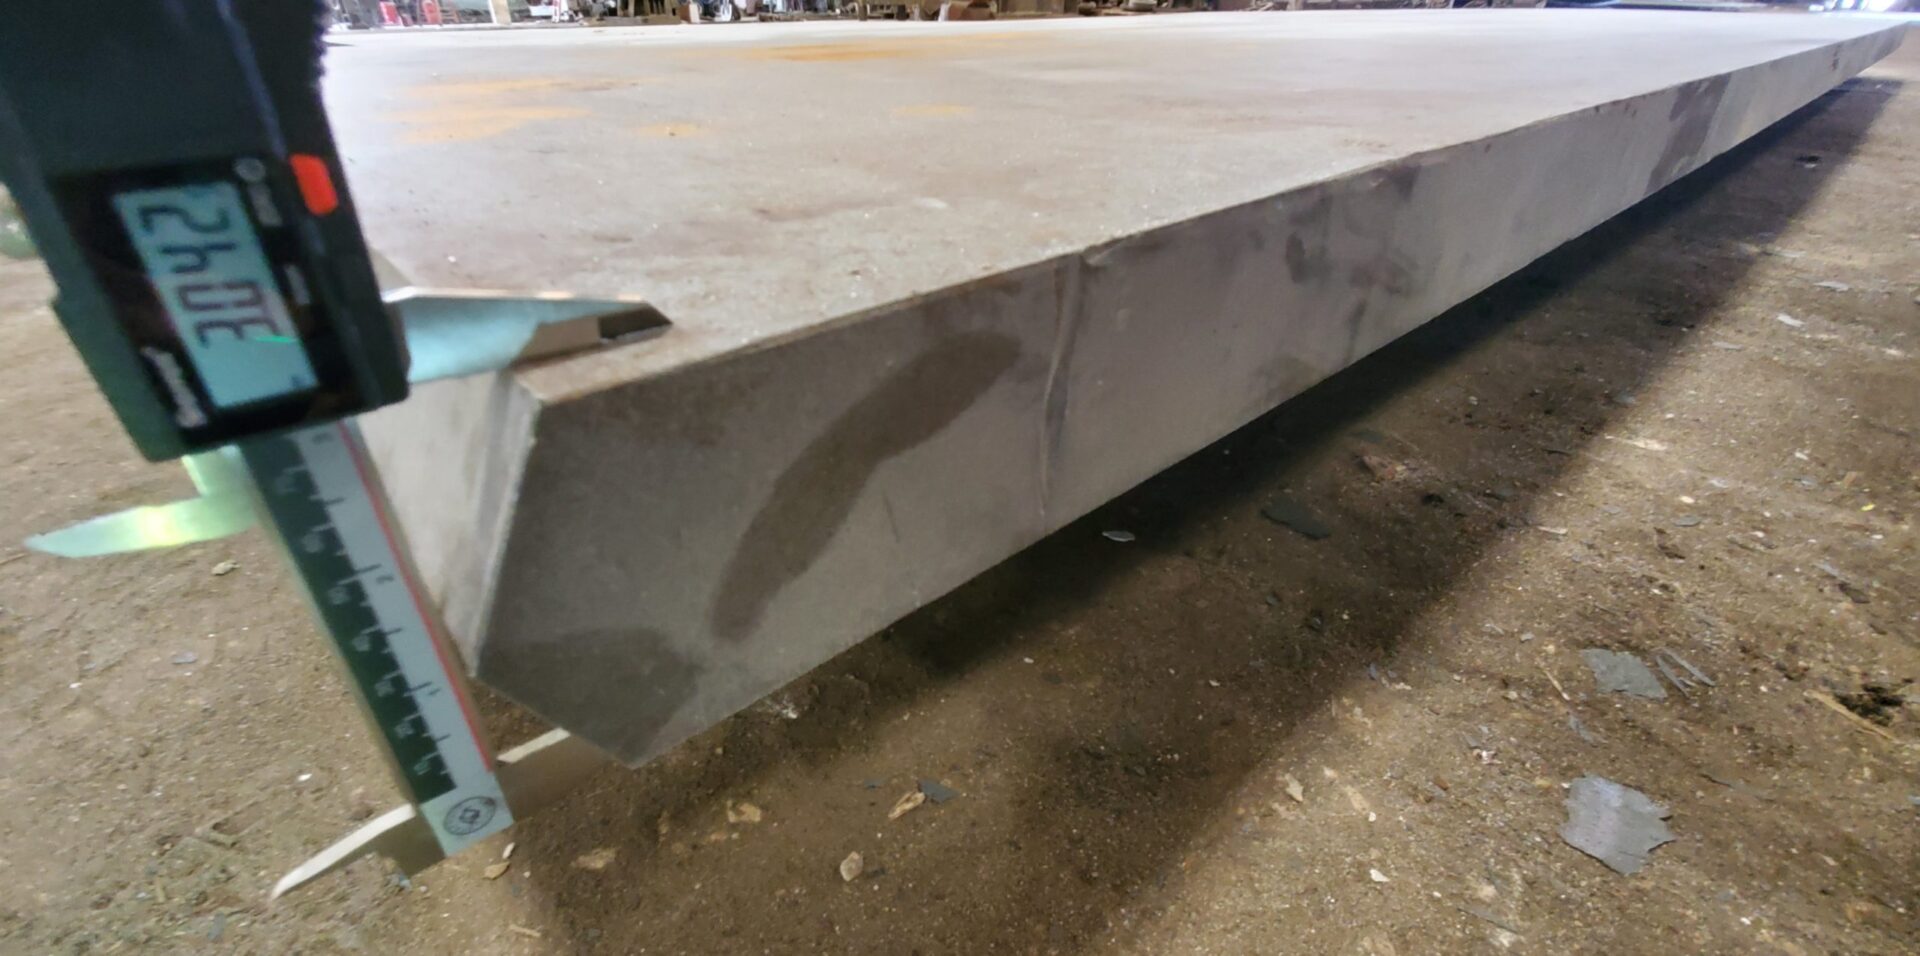
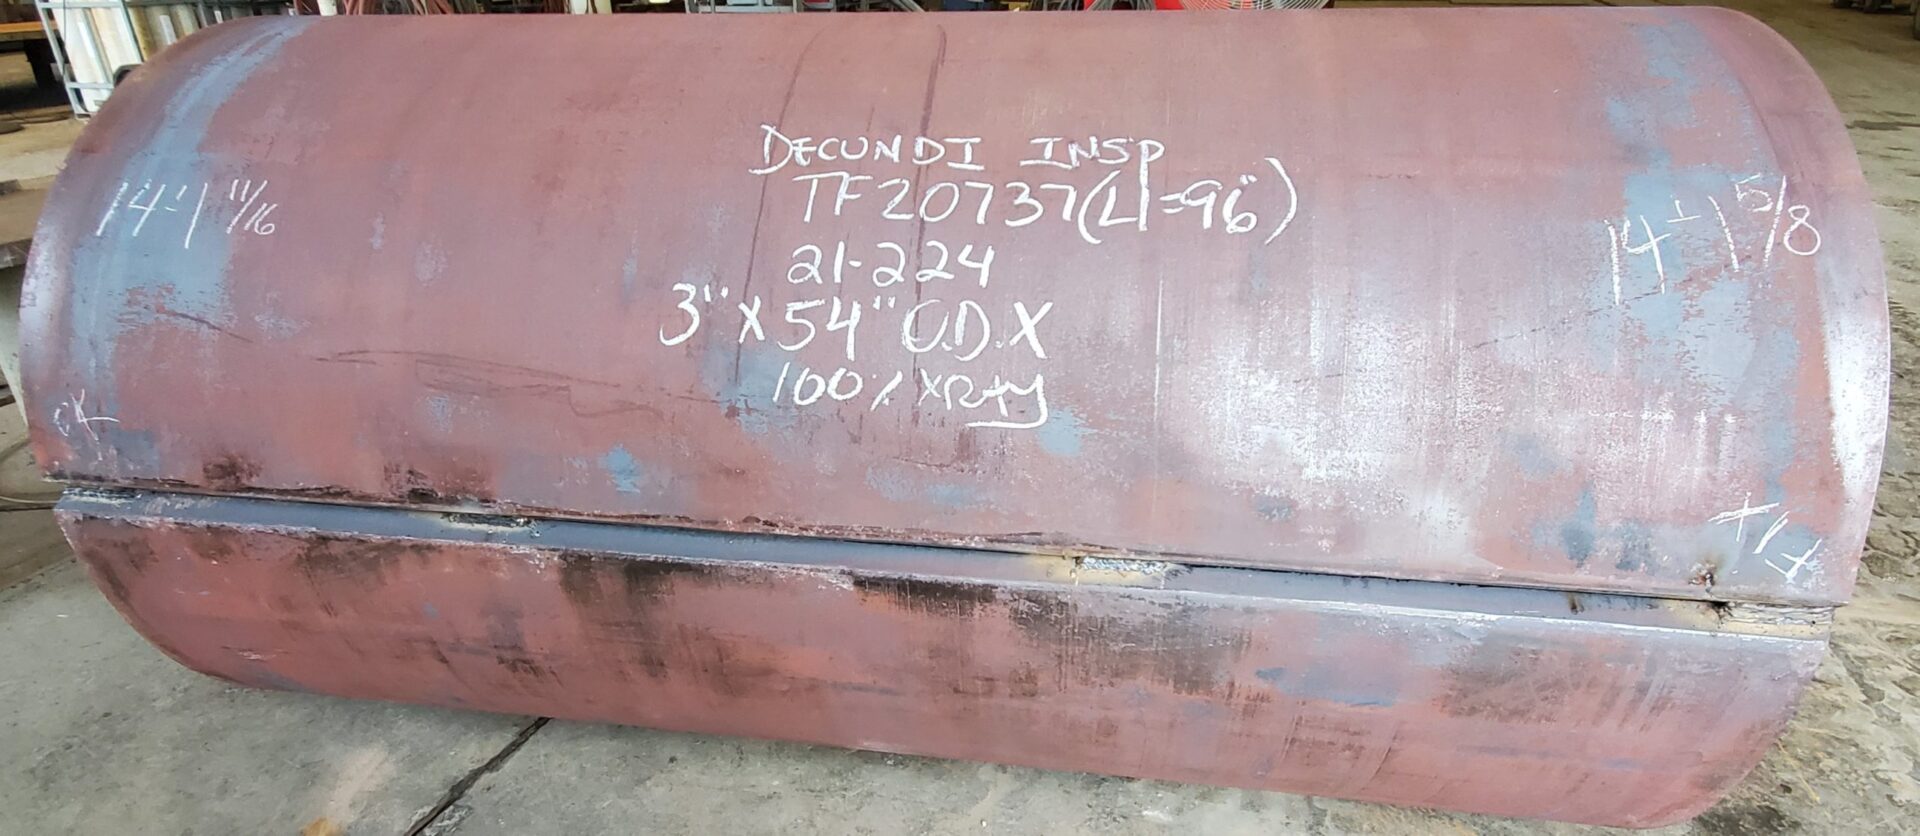
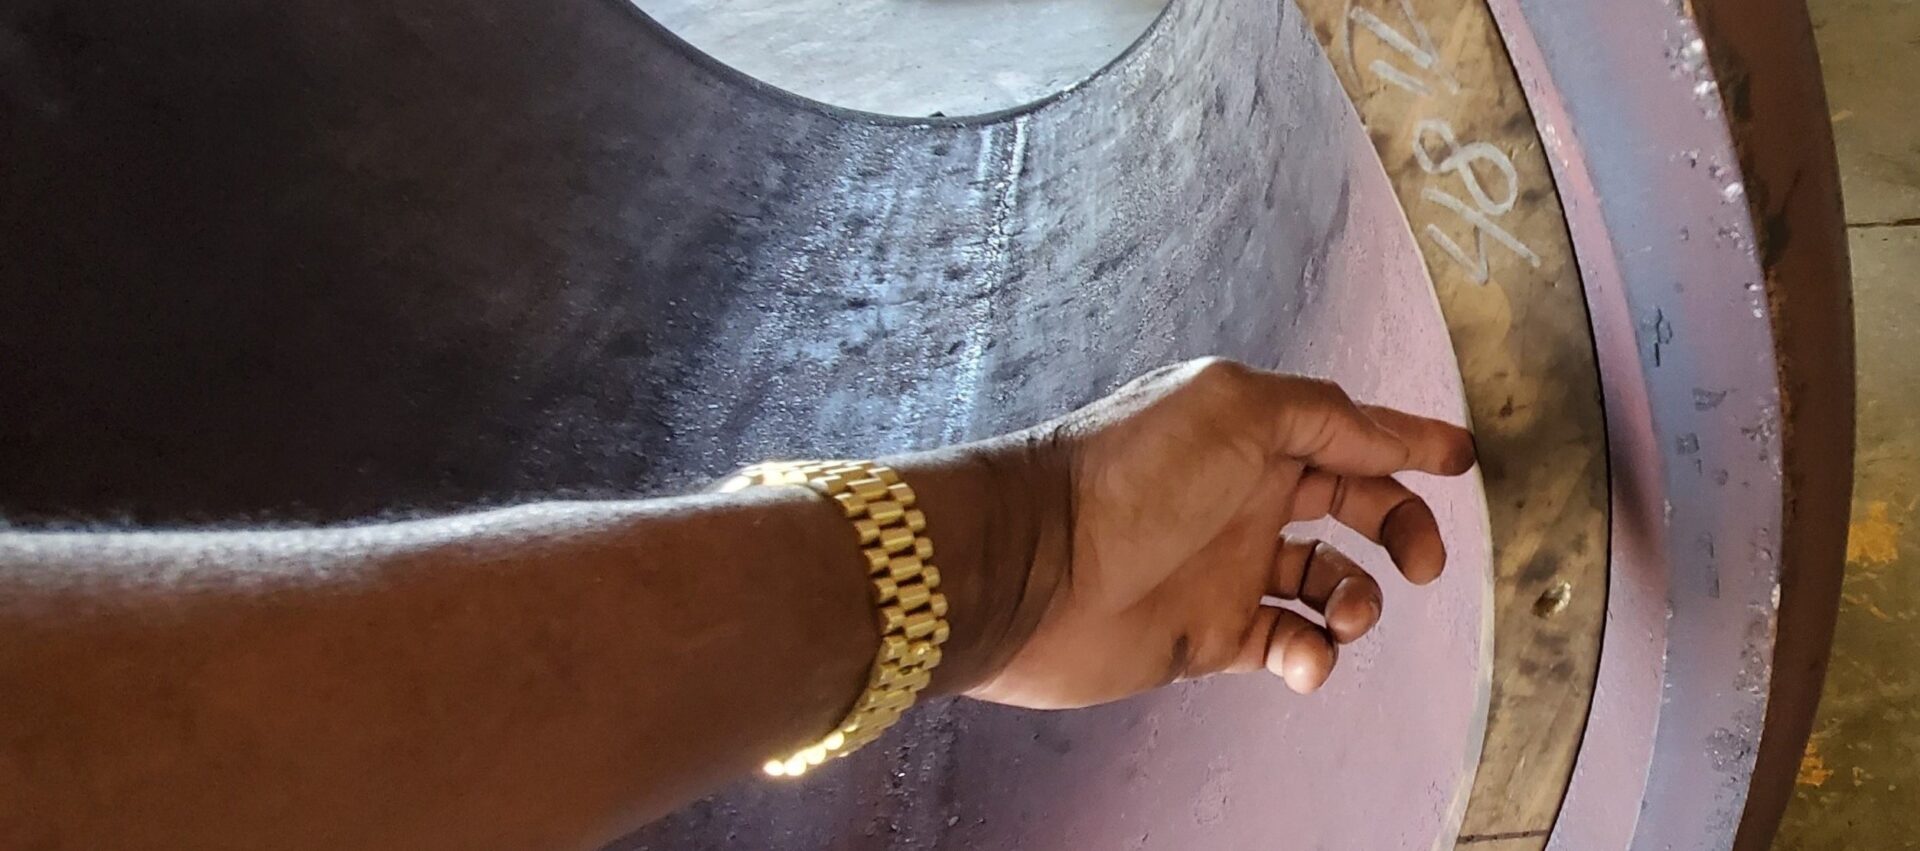
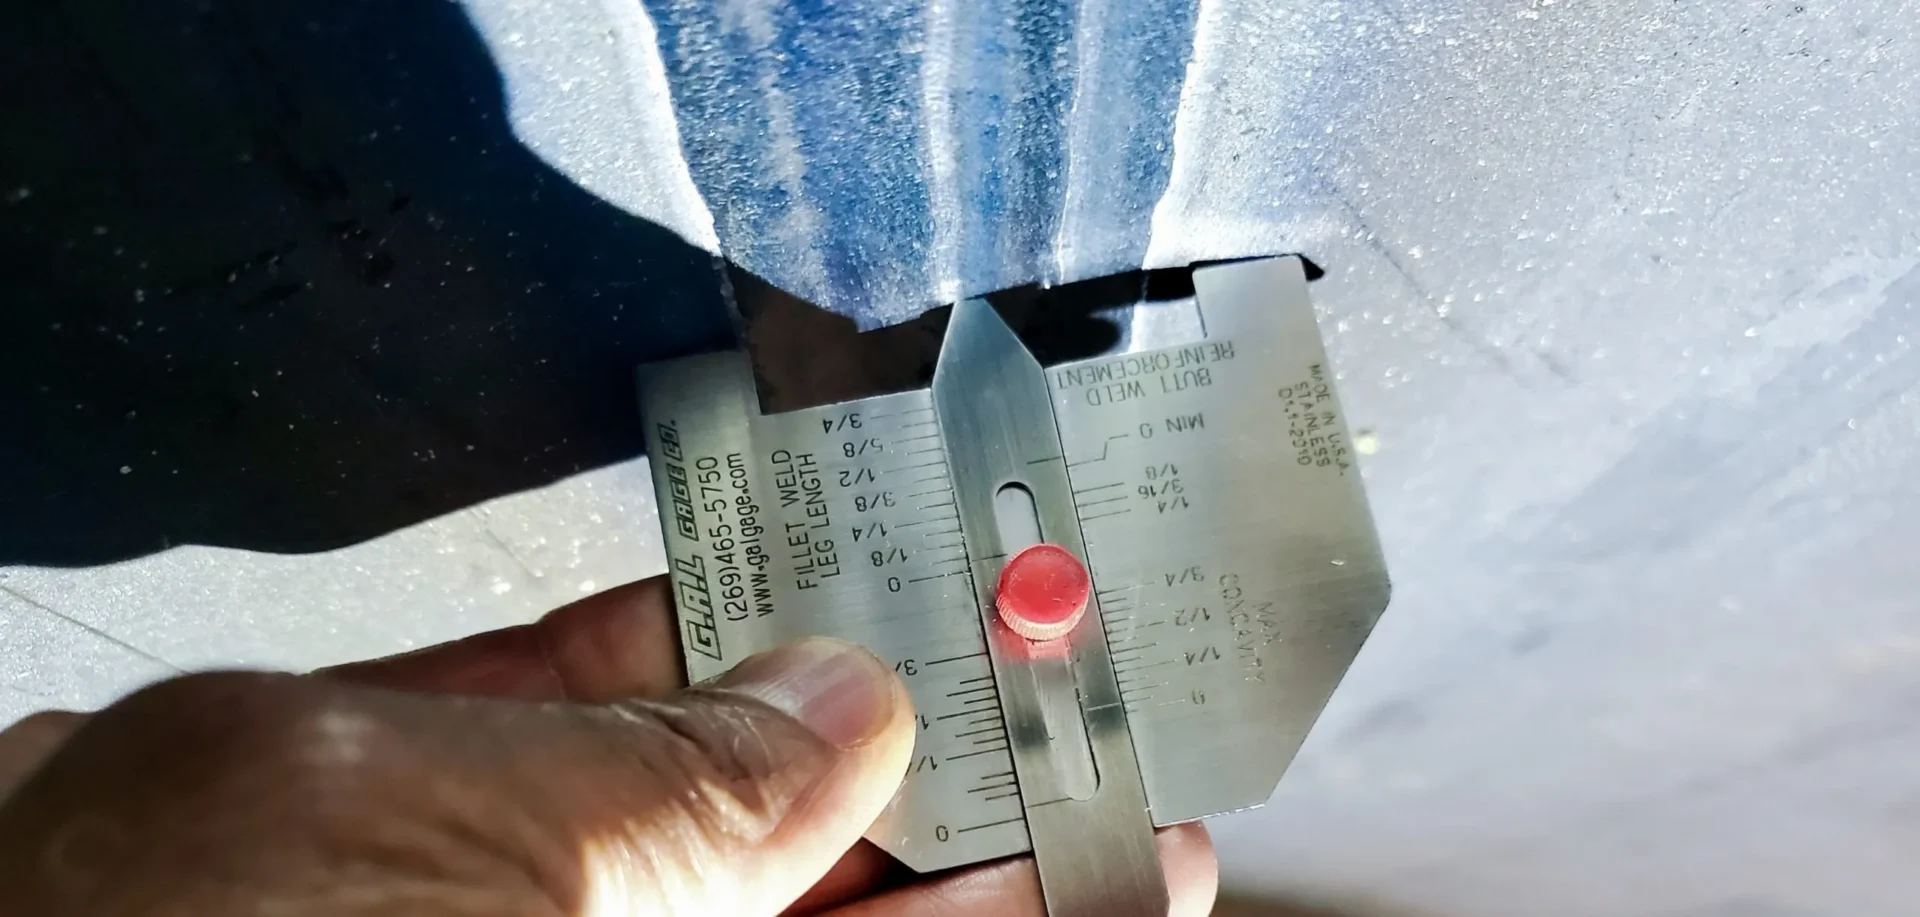
Benchmark dimensional inspection is also carried out for the wall thickness of the 3" thick shell plate (refer to 3" thick X 54″ O.D. by specified tangent-to-tangent length above) to be rolled into cylinders as can be seen in the example with pictures below where the thickness is noted to be as required 3.038" and is in accordance with the calculation.
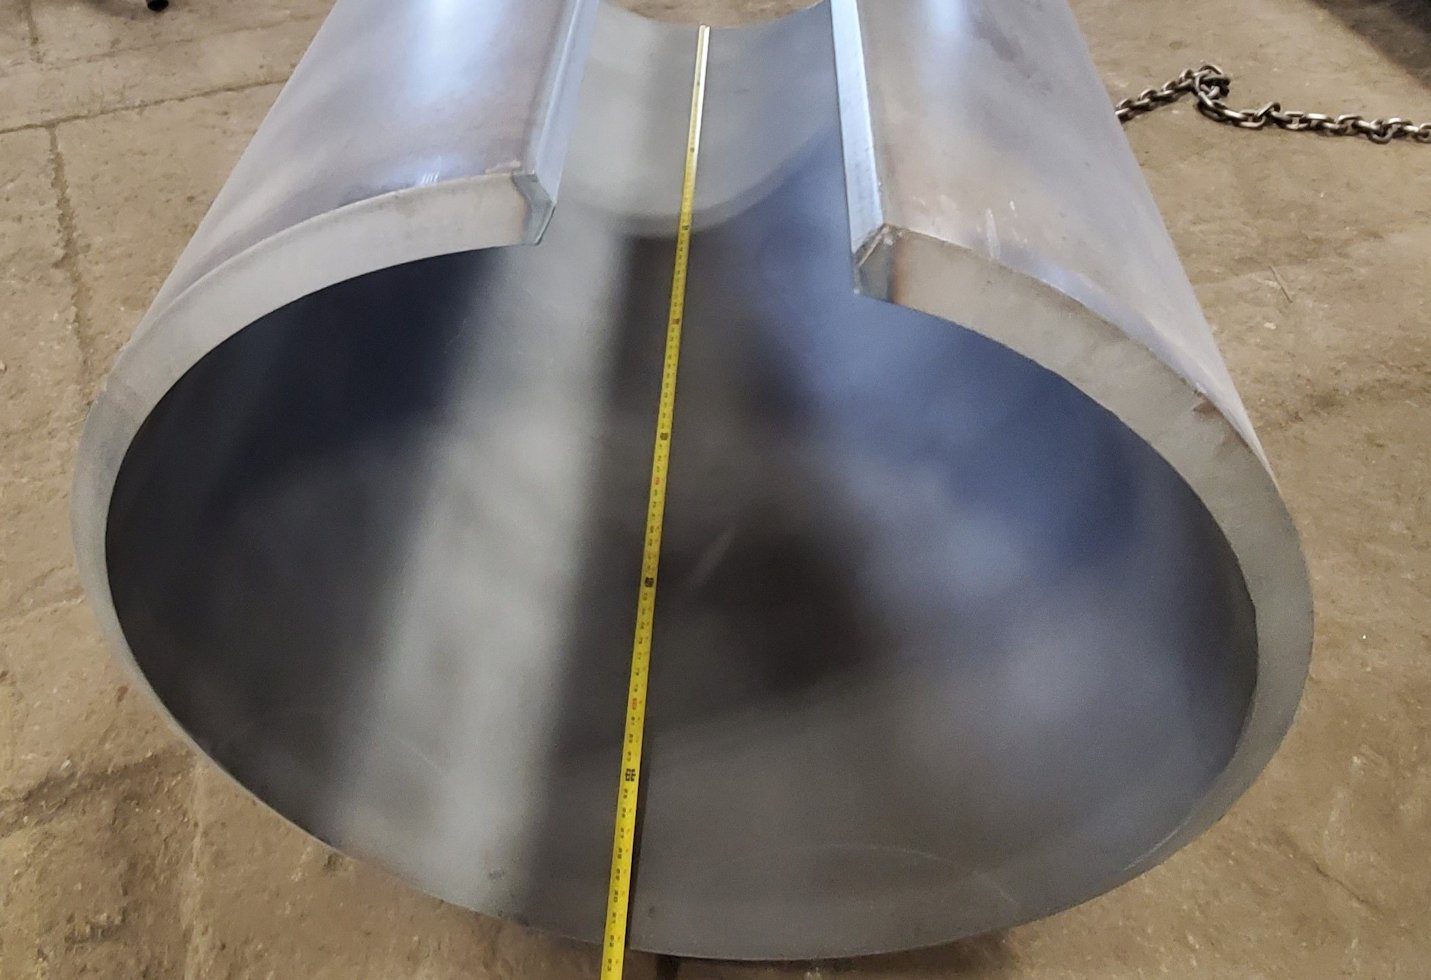
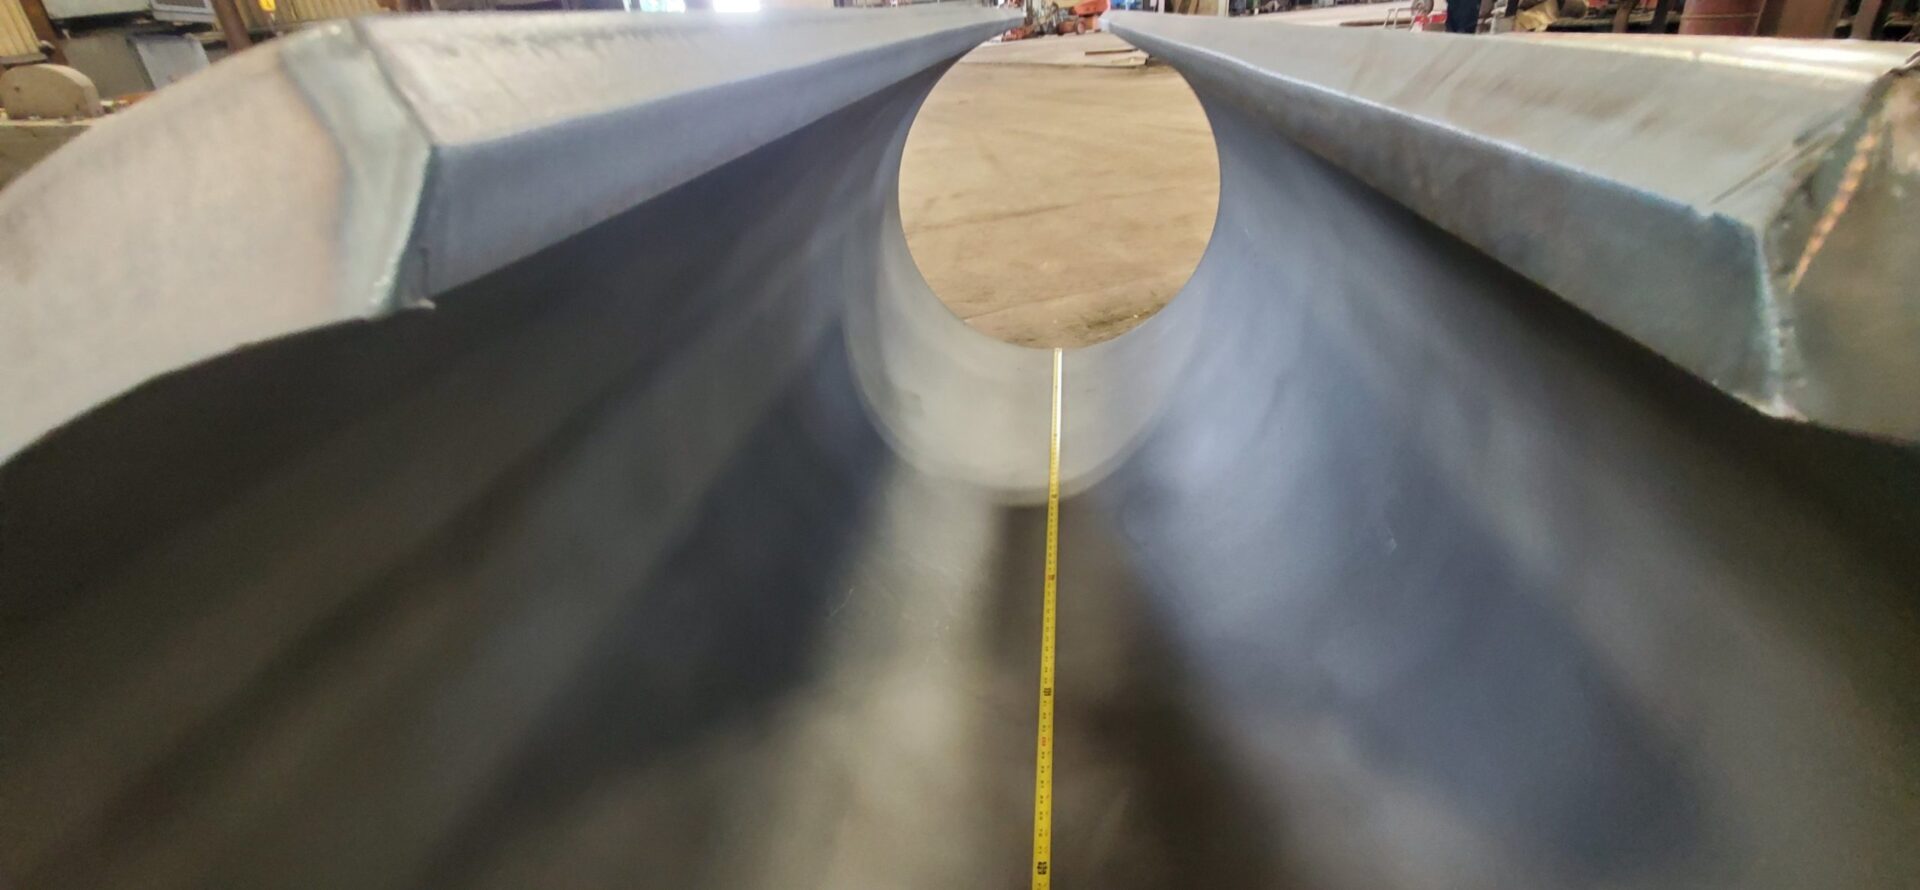
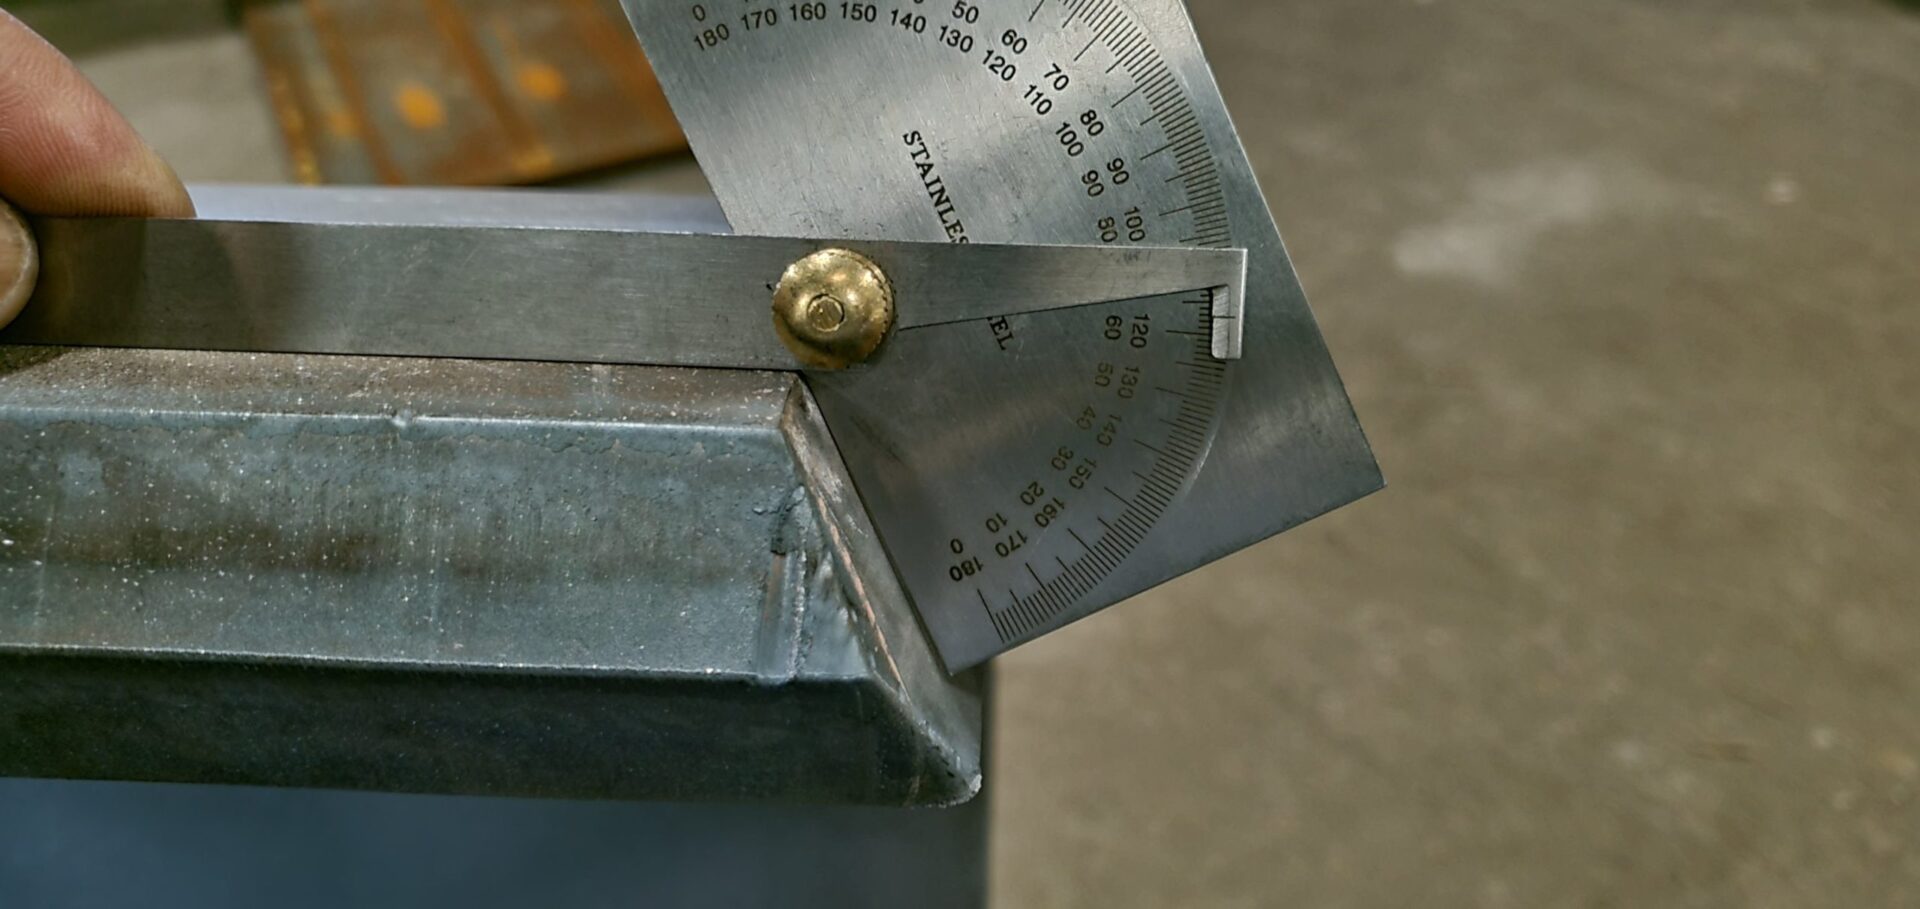
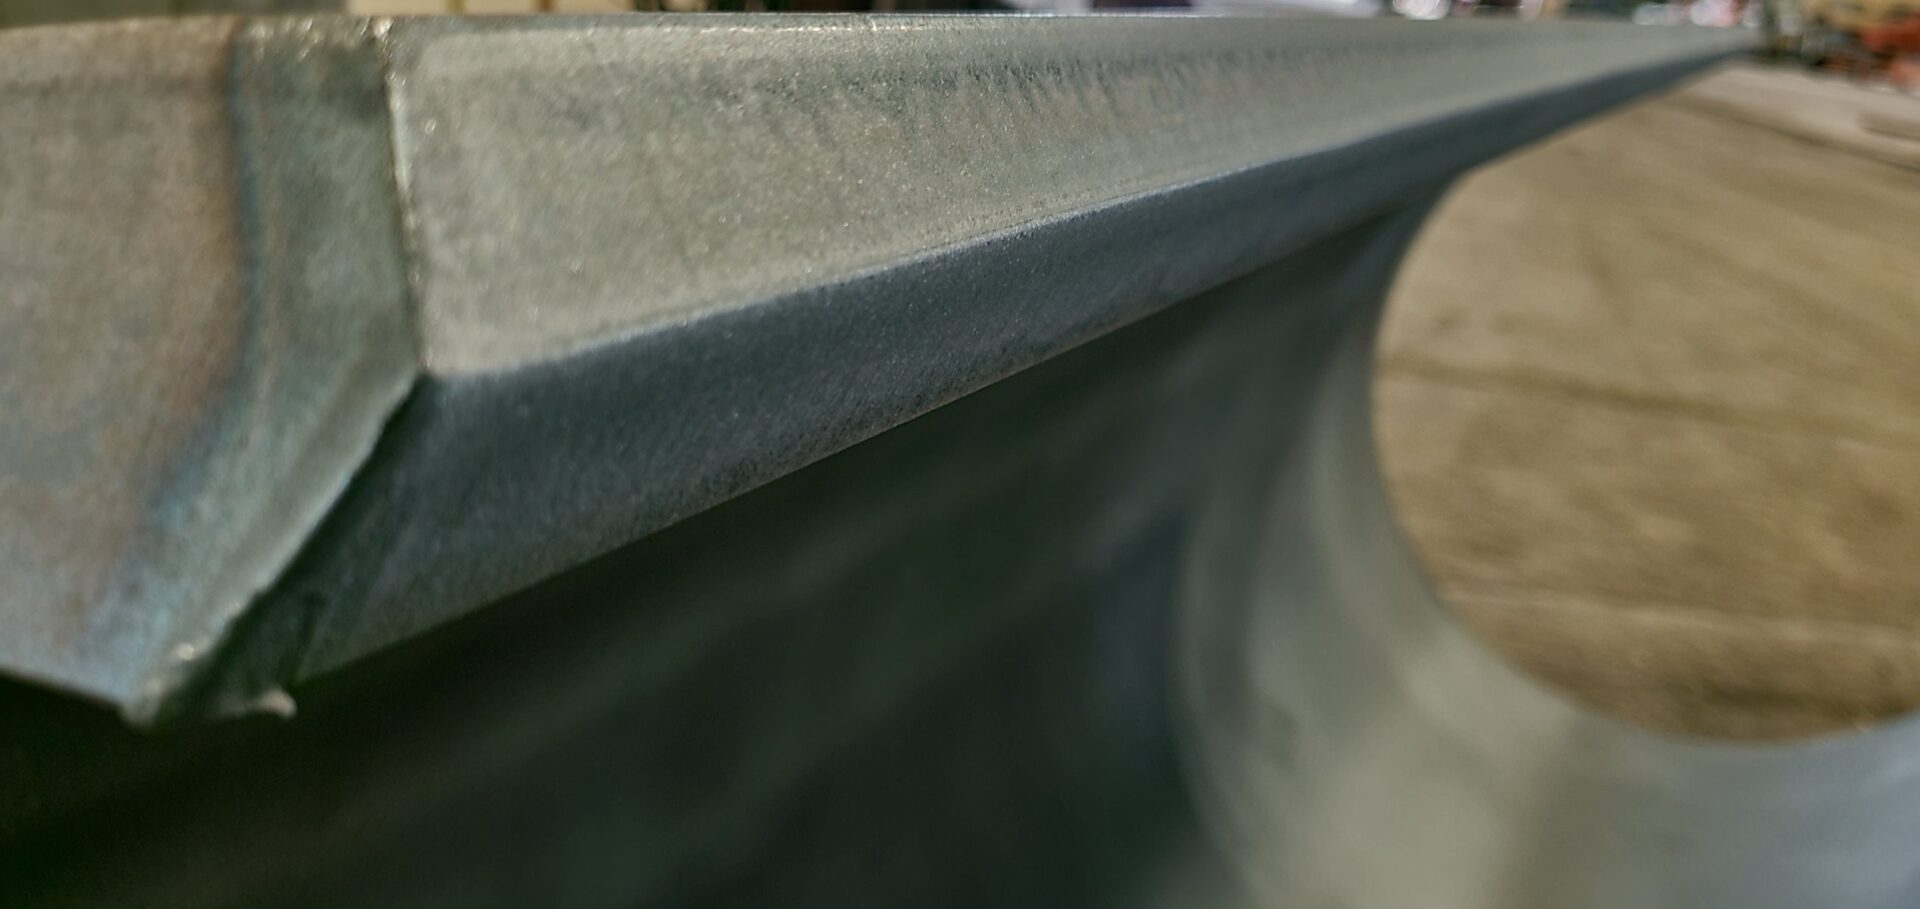
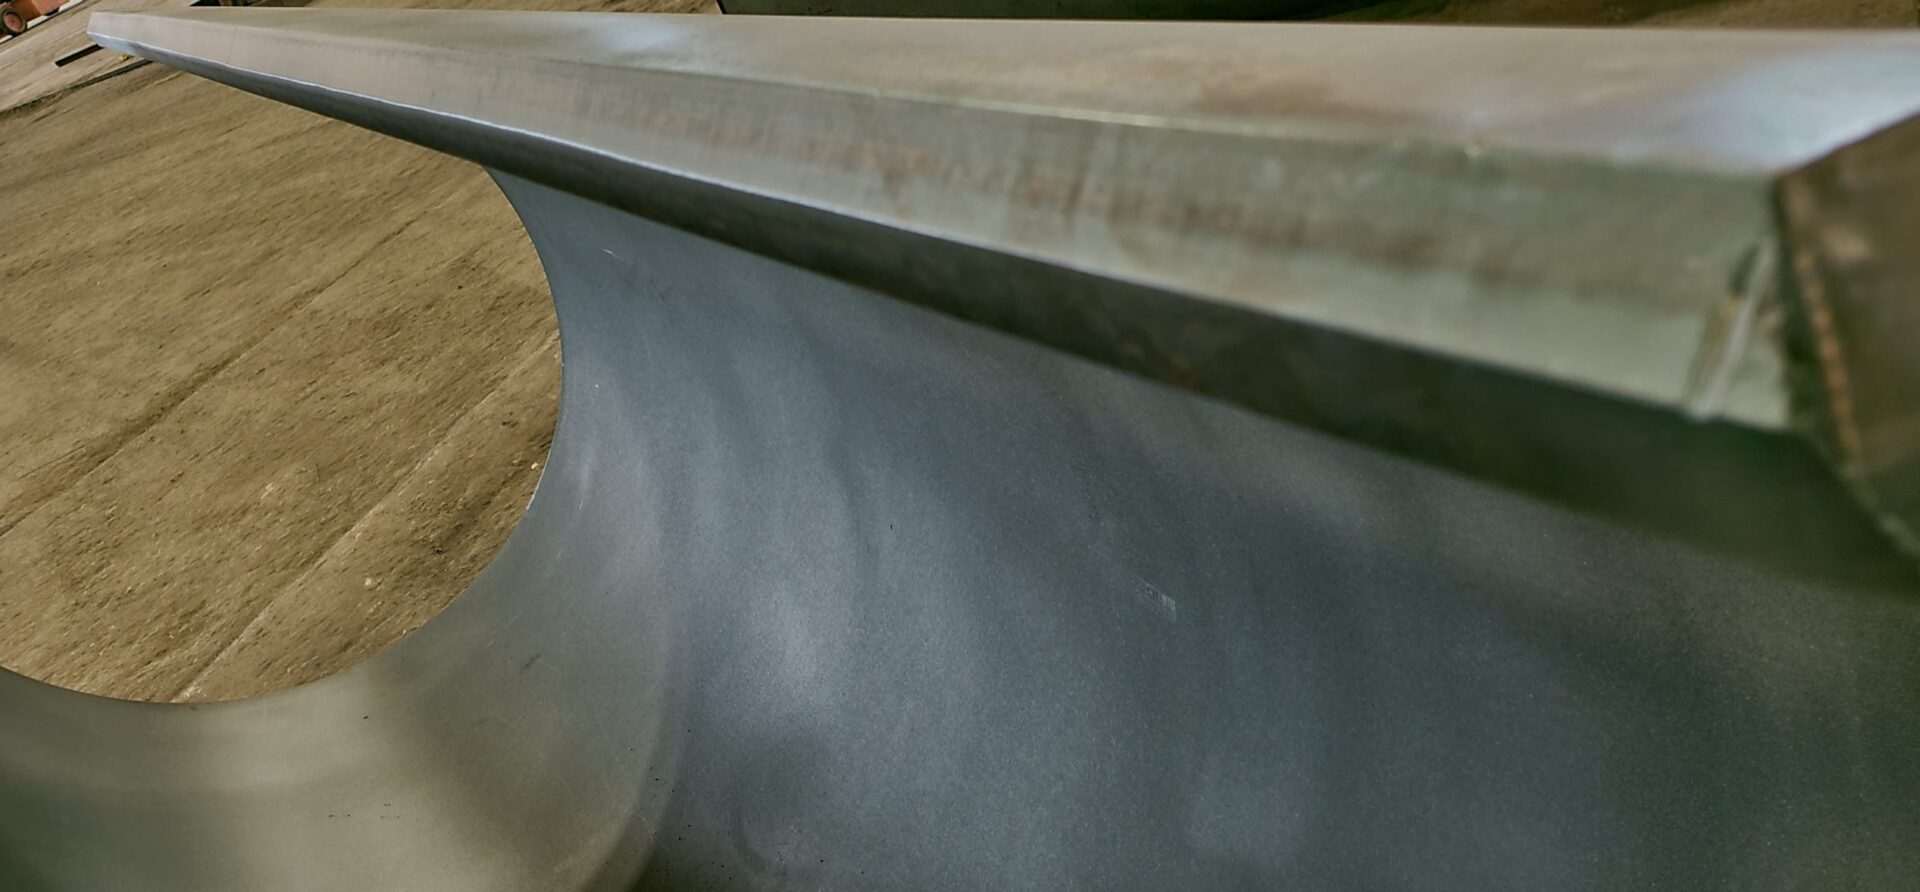
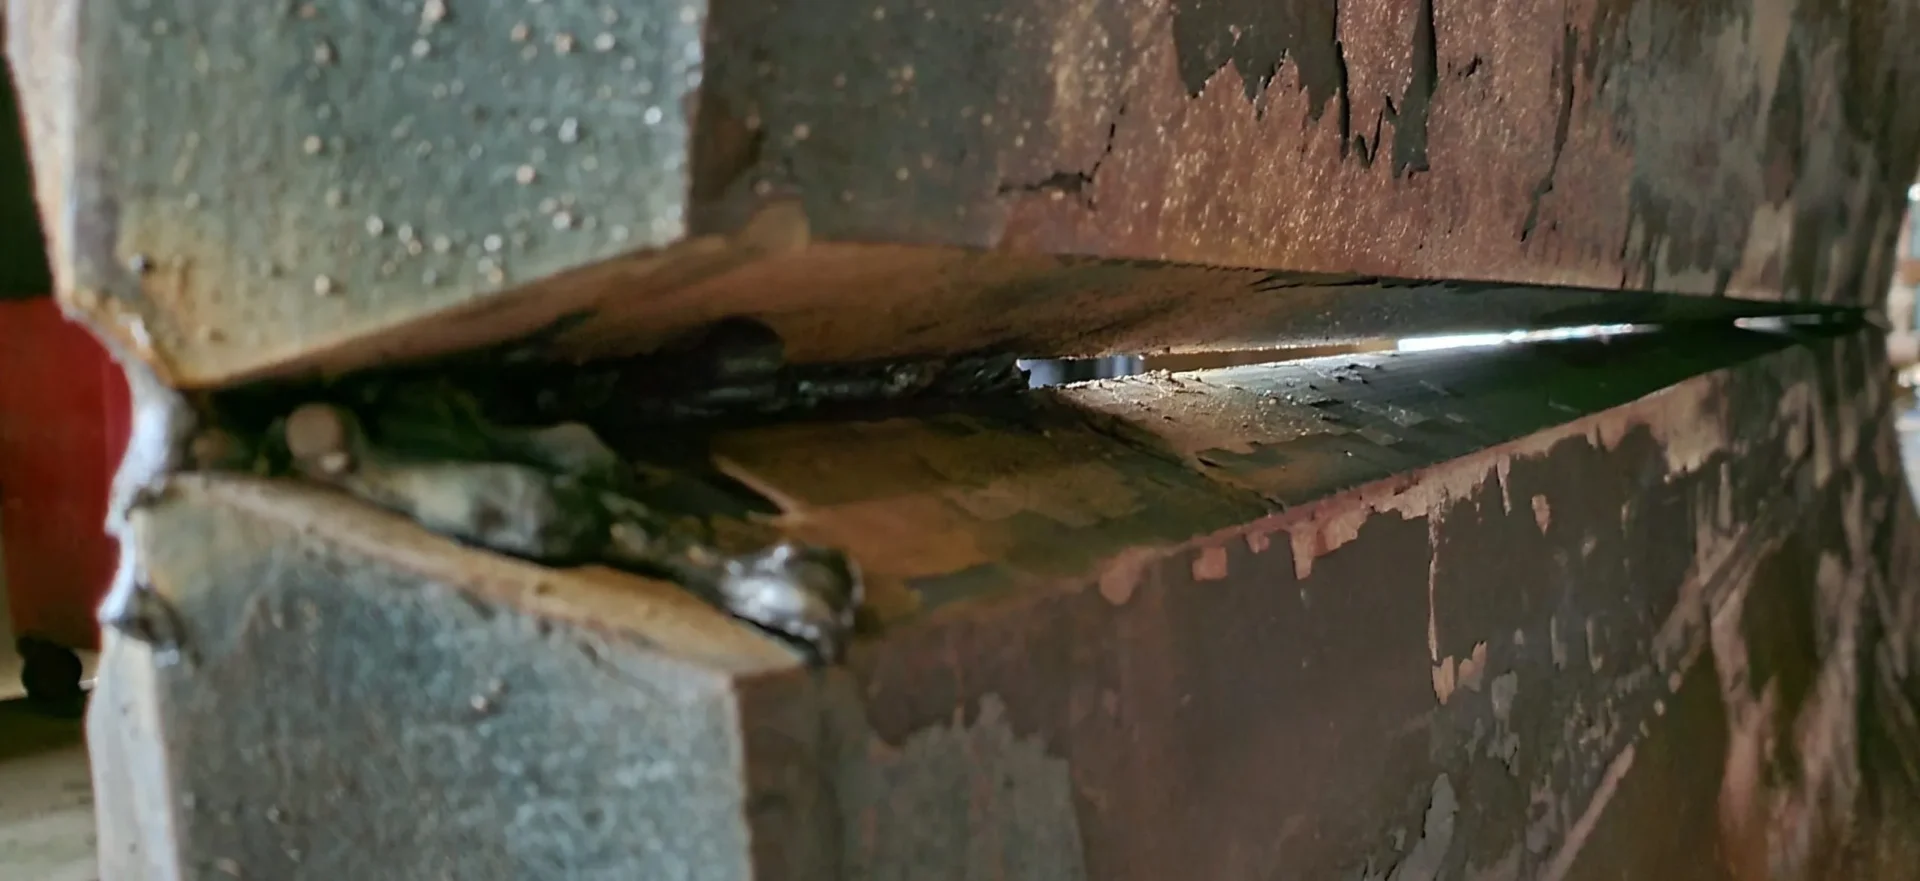
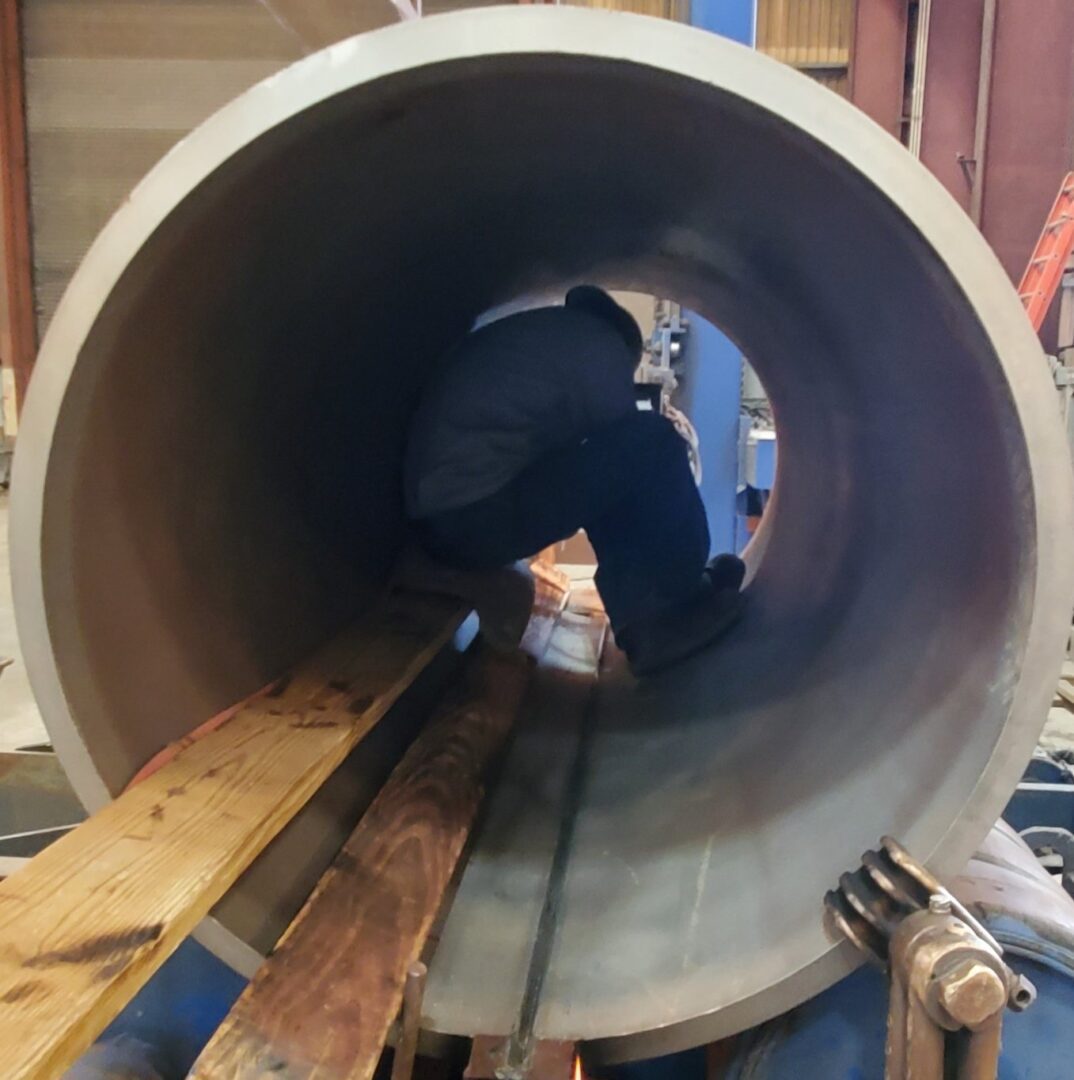
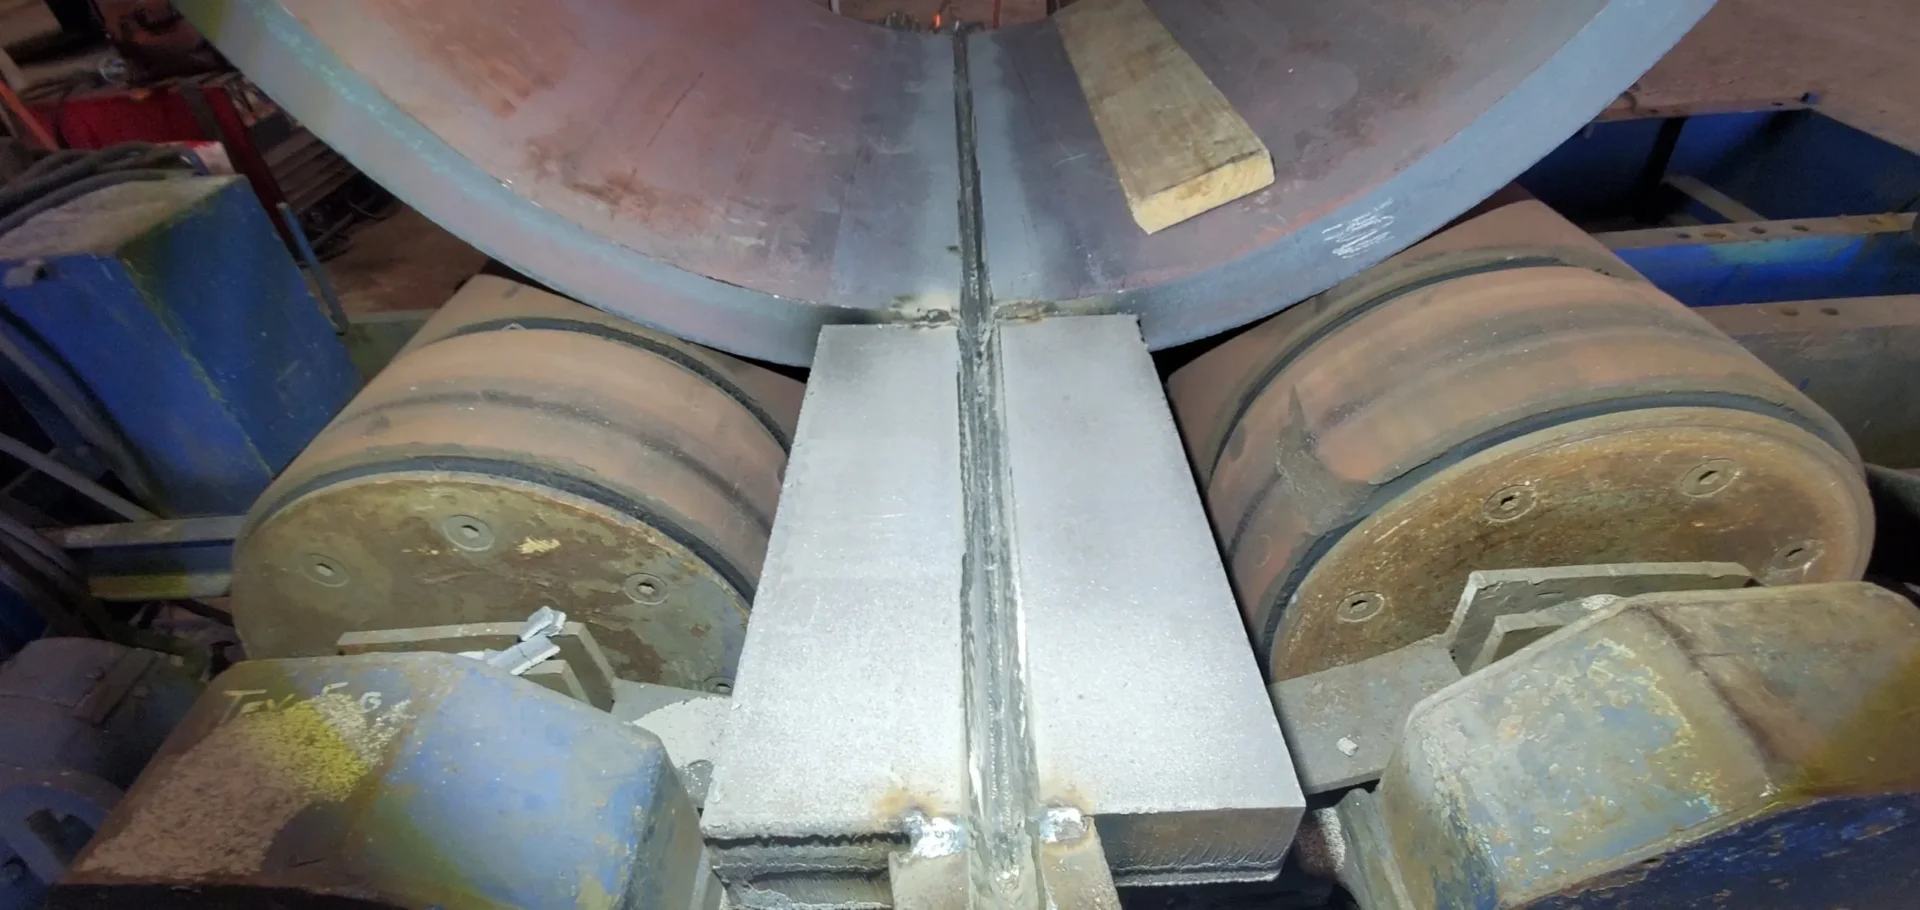
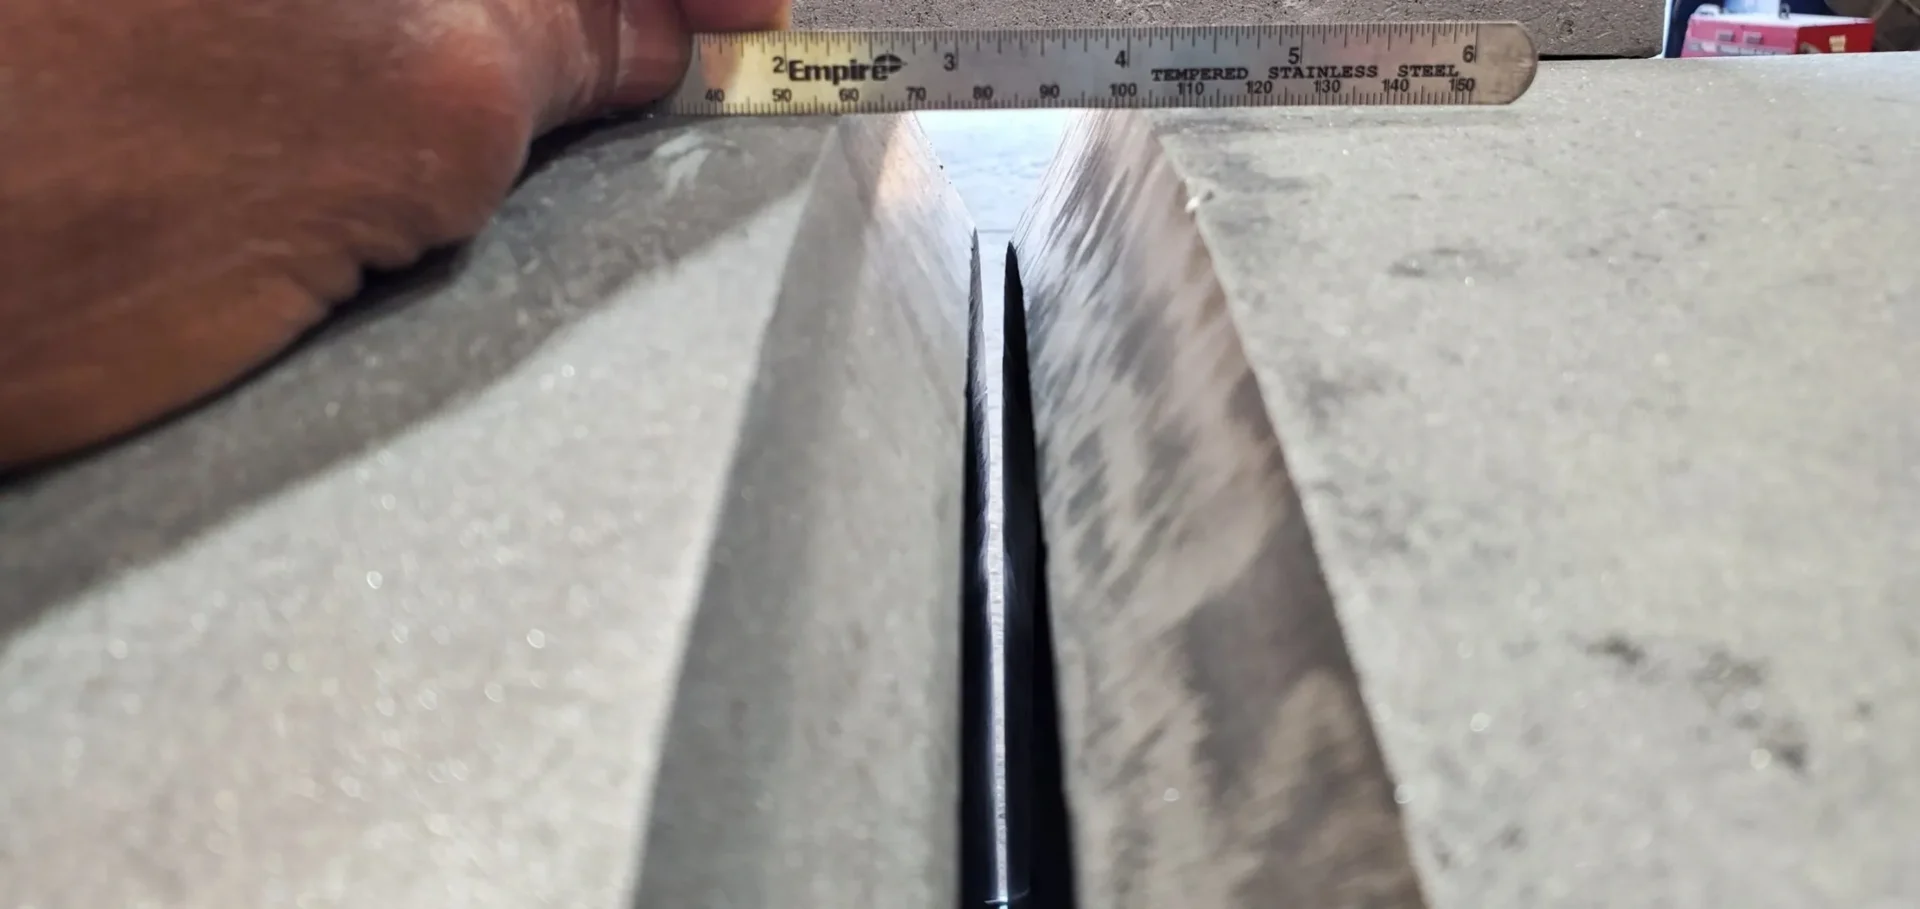
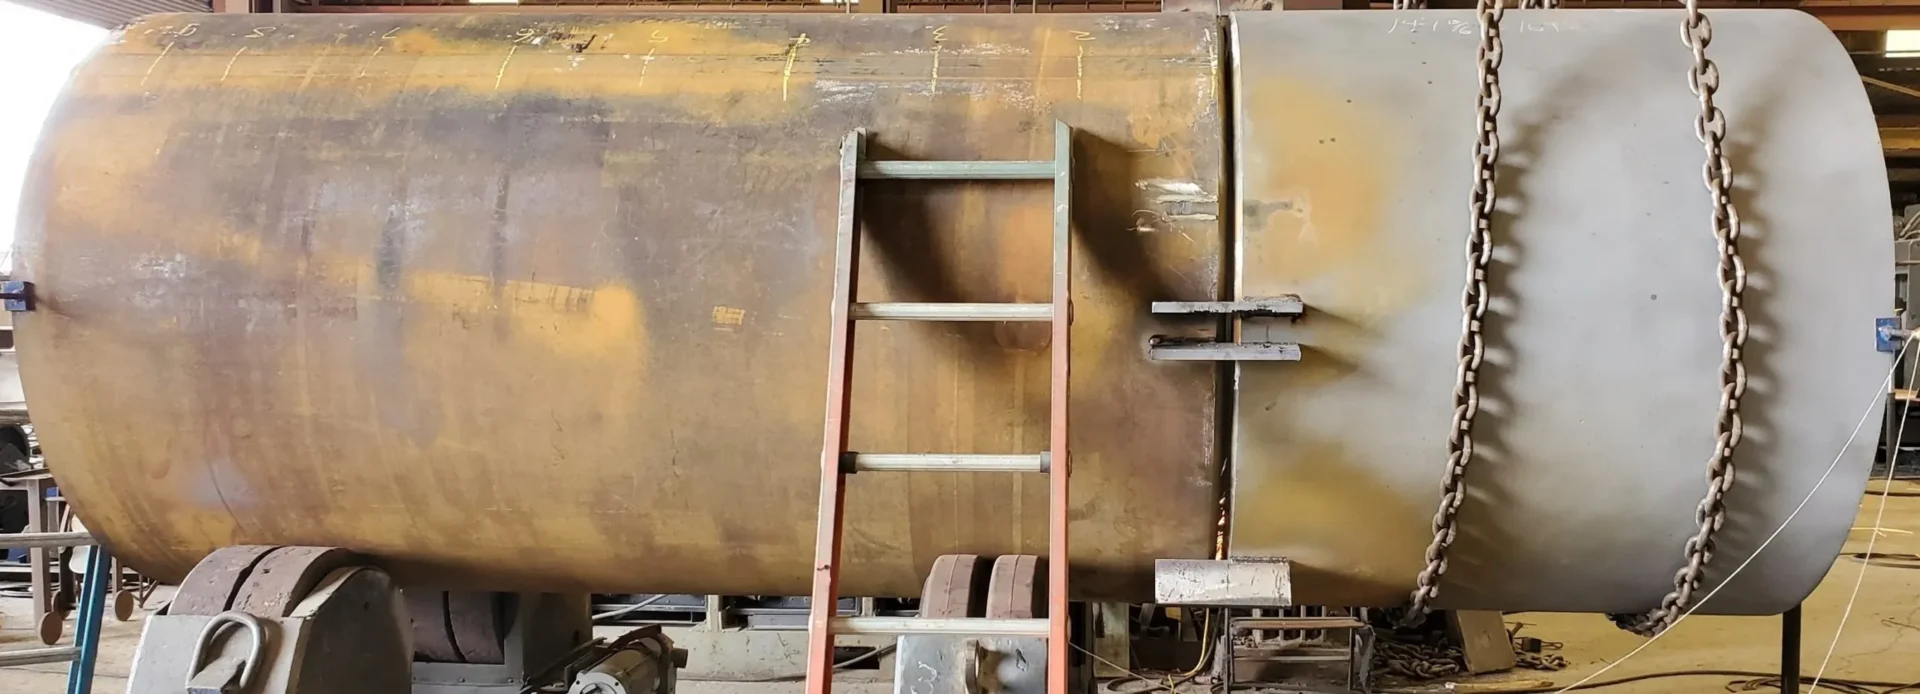
In accordance with the scope of work, Decundi inspection personnel carry out an inspection for rolling of the cylinders, and dimensional inspection is carried out for the permissible out-of-roundness of the cylinders. As required by code, the acceptance criteria for the permissible out-of-roundness – ASME Section V Division 1, paragraph UG-80 (a) (1) – is carried out using a sweep board which shall find the dimension not to exceed 1% of the inside diameter at any cross-section under consideration. This dimensional inspection is carried out throughout the circumference of the cylinders on the I.D. In addition to carrying out inspection for permissible out-of-roundness, visual and dimensional inspection is carried out for the weld preparation at the long seam plus the girth seam at the end of the shell can (see cylinders above). For the above subject pressure vessel, the weld preparation was found with a 28° double-bevel, a 1/8" landing, and a 56° included angle at the long seam. Inspection for the weld preparation at the girth seam also found a 28° double-bevel with a 1/8" landing and when this joint is fitted to the 2:1 elliptical head, will have a joint configuration consisting of a 56° included angle at the head to shell joint. Decundi inspection personnel also carry out an inspection for assurance the bevel shall be smooth, with no kerf from torch cutting or erratic profile shall be present on the weld preparation.
Decundi Inspection Services' guiding principle during the fabrication of pressure-containing equipment is that we pay due diligence for the storage of welding consumables, as in the case of the fabrication of this pressure vessel refer to Anatomy [from start to finish] above, that we carry out an inspection for the welding electrodes used for the deposit of the root pass, hot pass, fill passes and cap bead.
Inspection for the welding electrodes for the root pass found the consumables to be 1/8" Ǿ E7018-1 (SMAW process) for SA-516-70N material. Inspection of the 1/8" Ǿ E7018-1 electrodes trade name, Lincoln® Excalibur® found the SMAW consumables were contained in hermetically sealed containers, and in addition, the welding rods were found to be in good condition with no damage noted to the coated shielding (flux). The inspection also found that after opening the hermetically sealed containers, the electrodes were stored in an oven held at a temperature of at least 250 °F (120 °C), and the requirement for the storage of the electrode after opening the container was in accordance with AWS D1.1, paragraph 5.3.2.1.
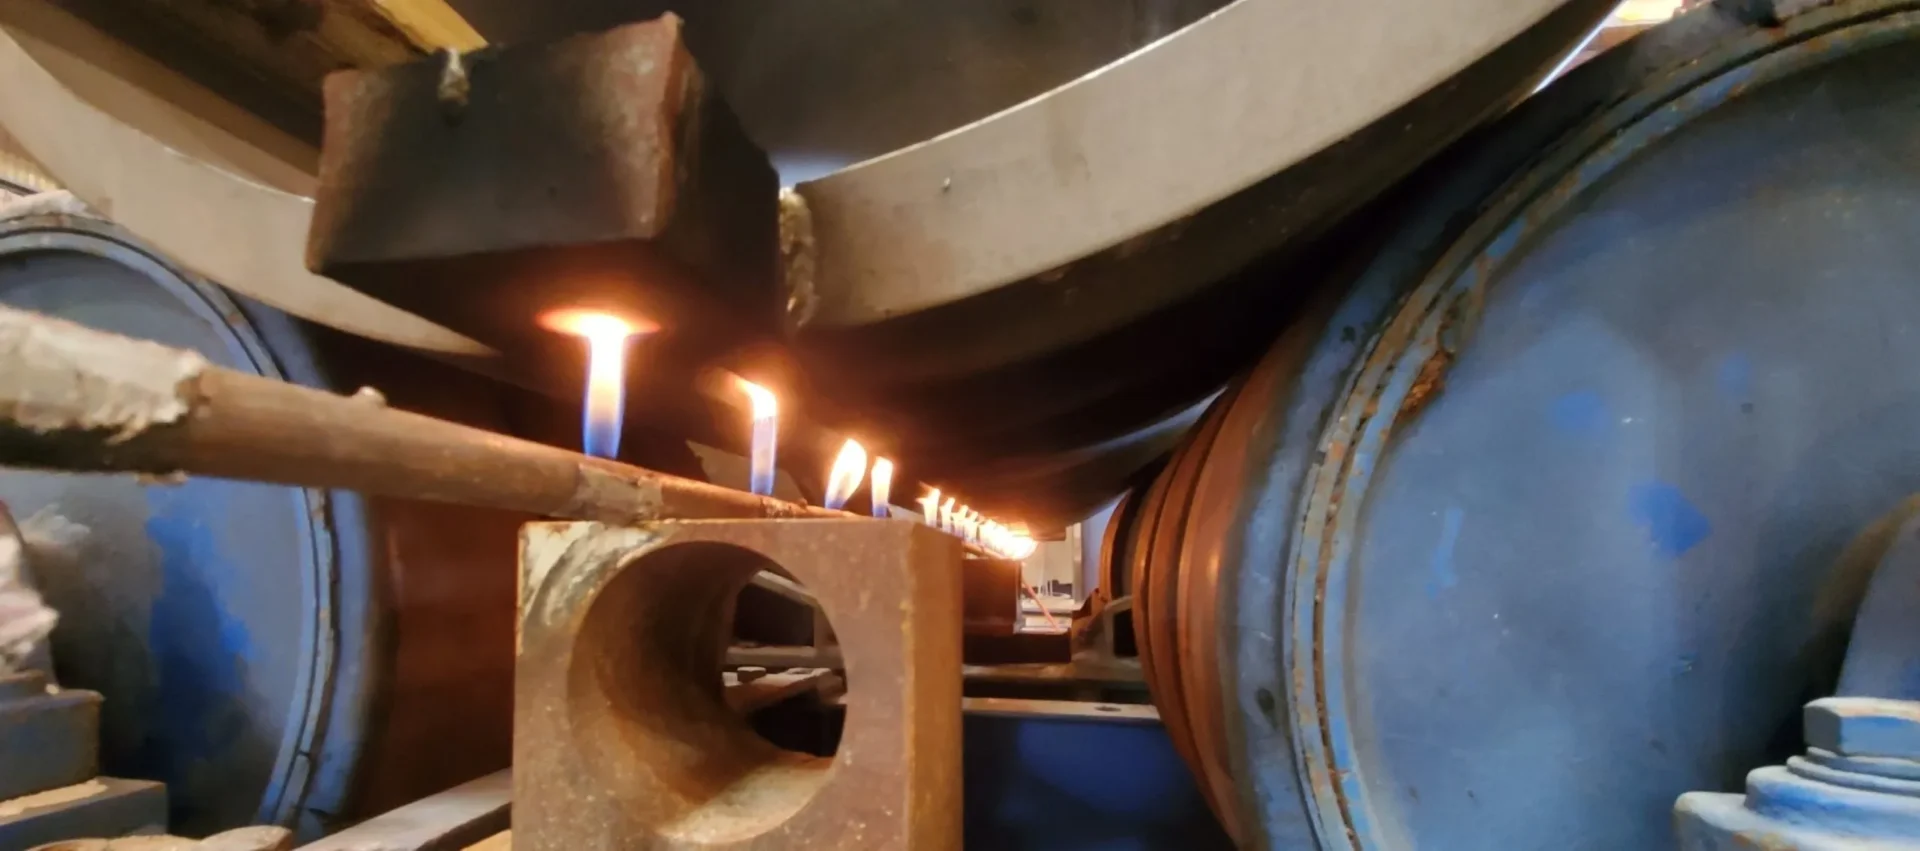
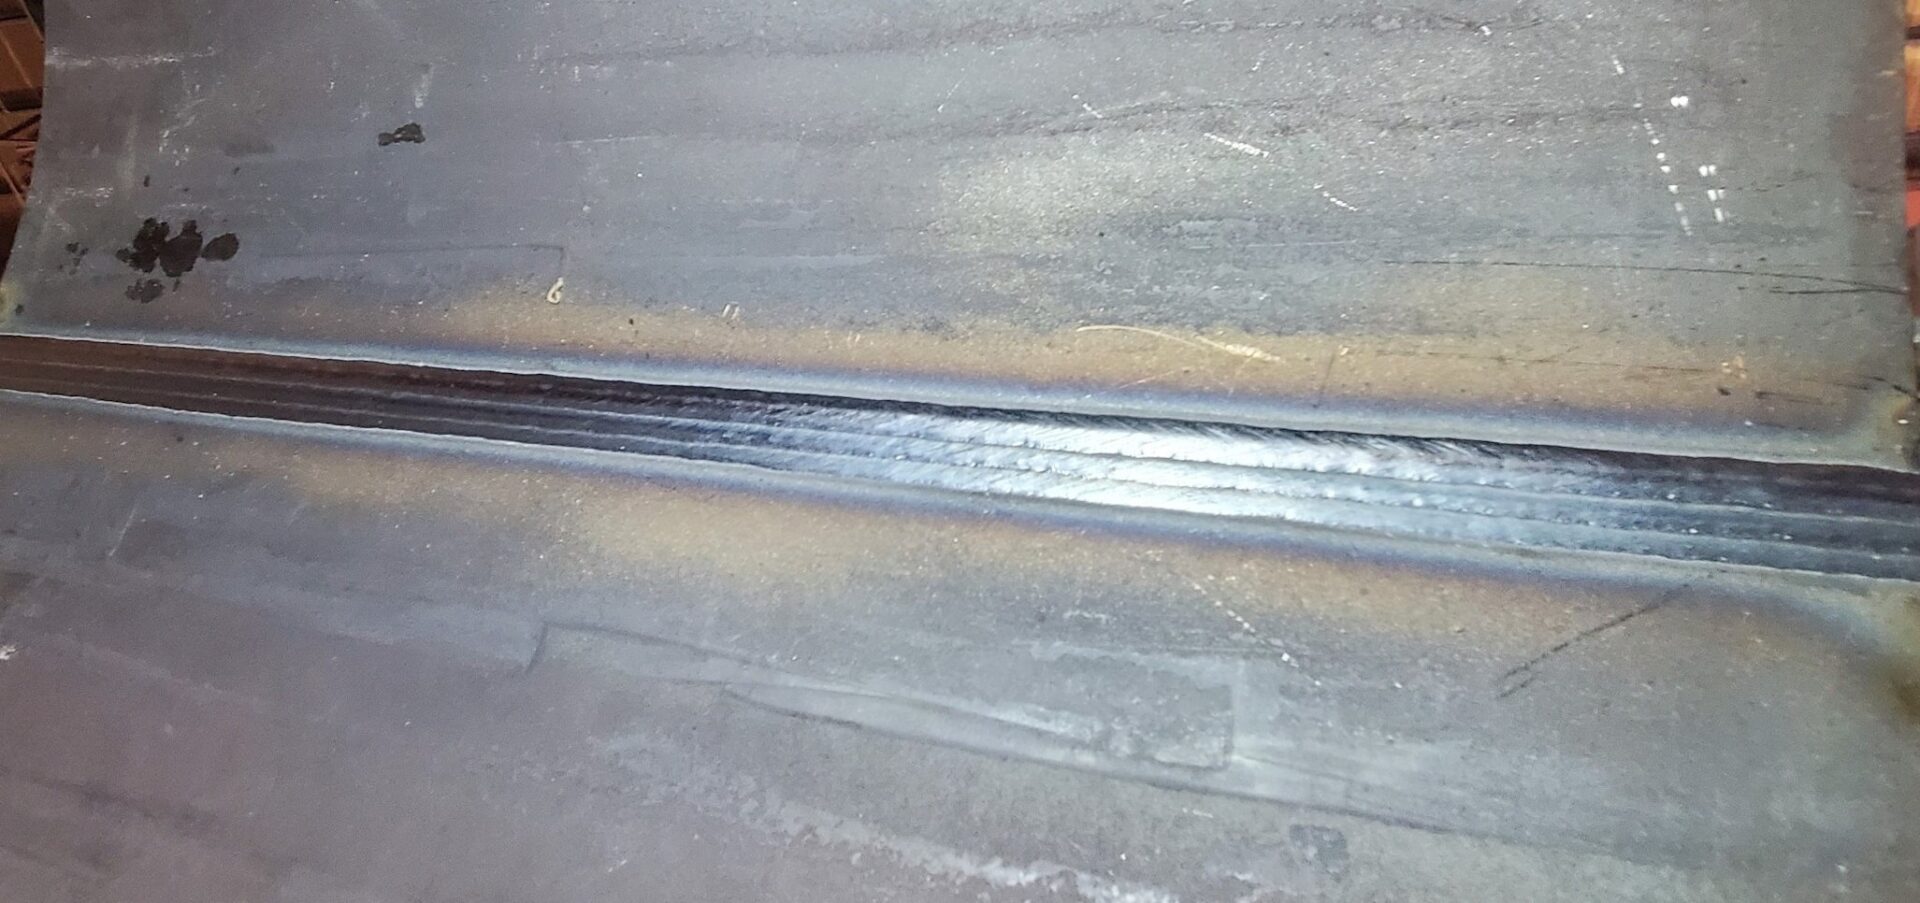
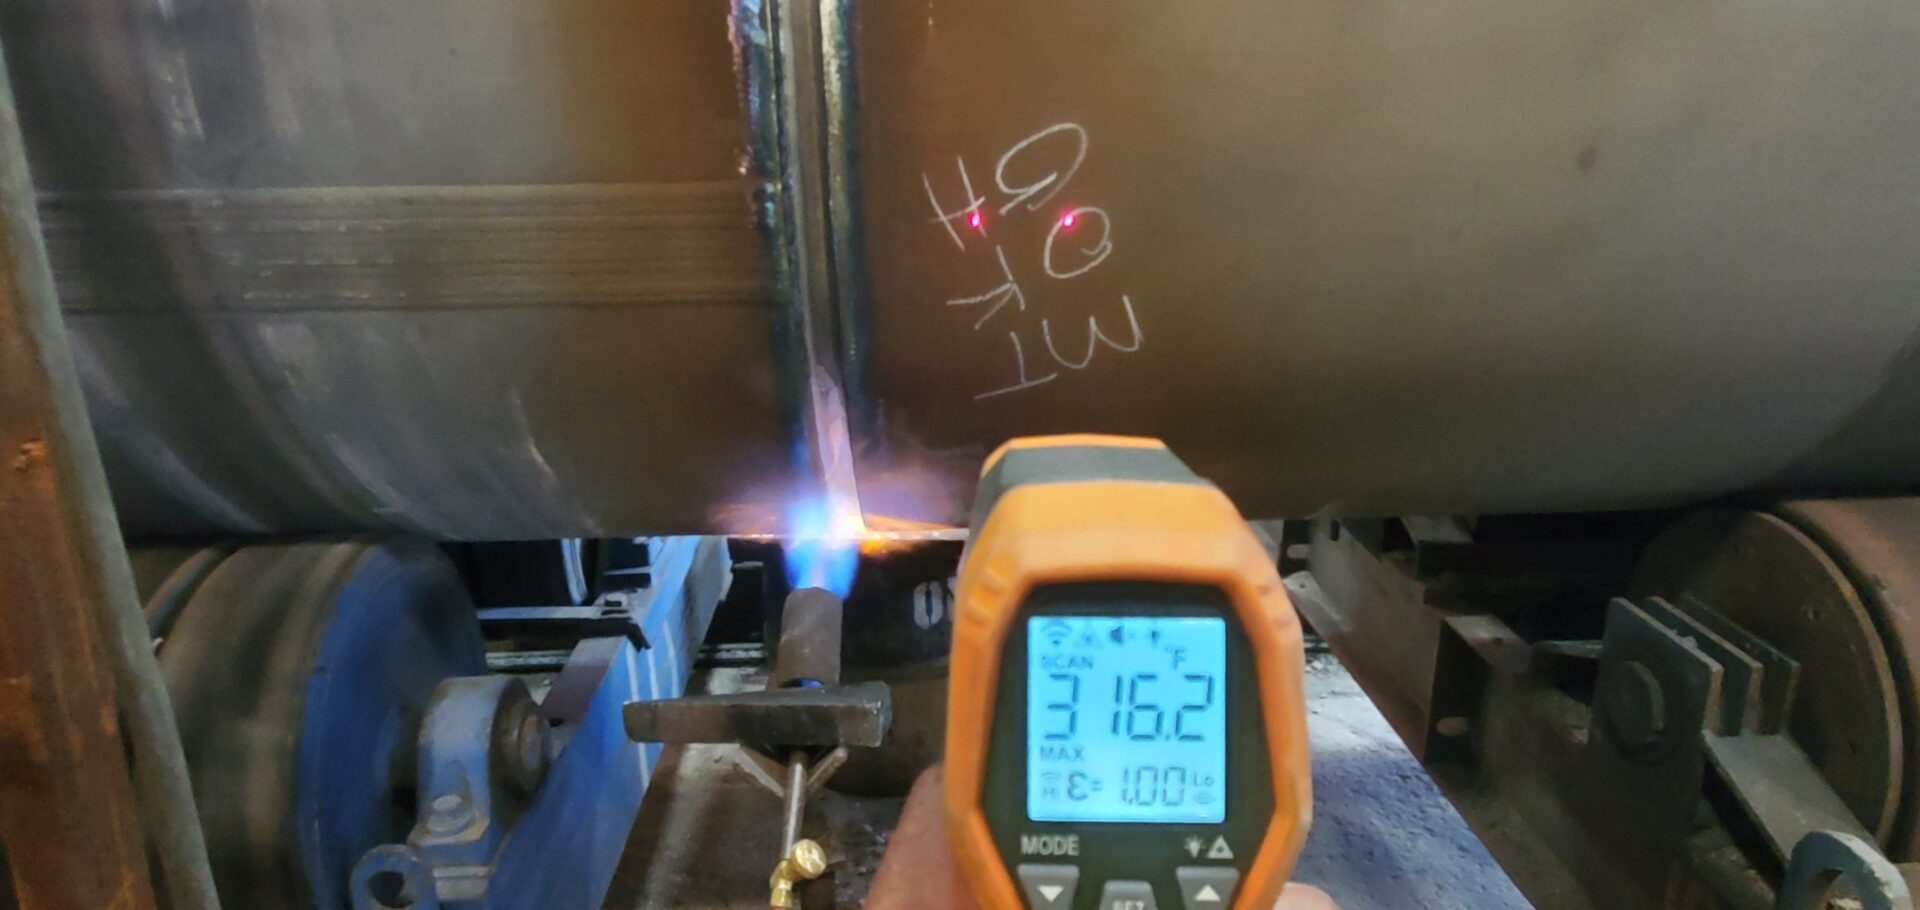
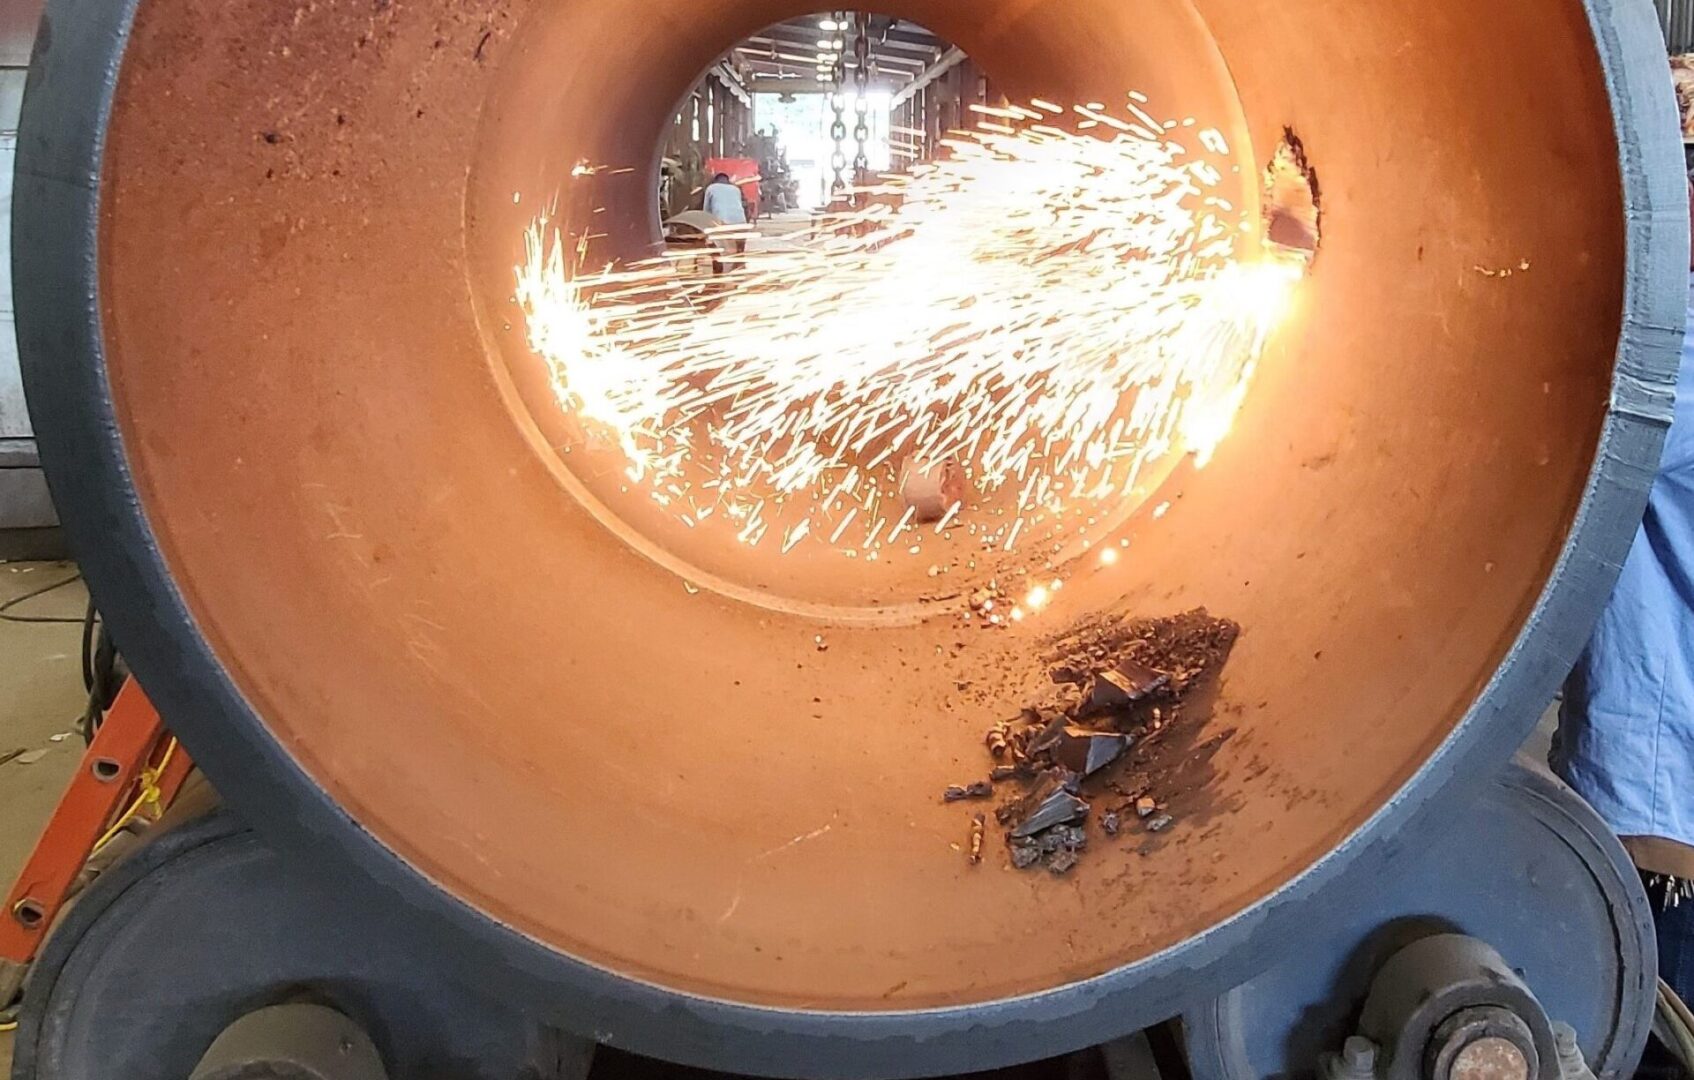
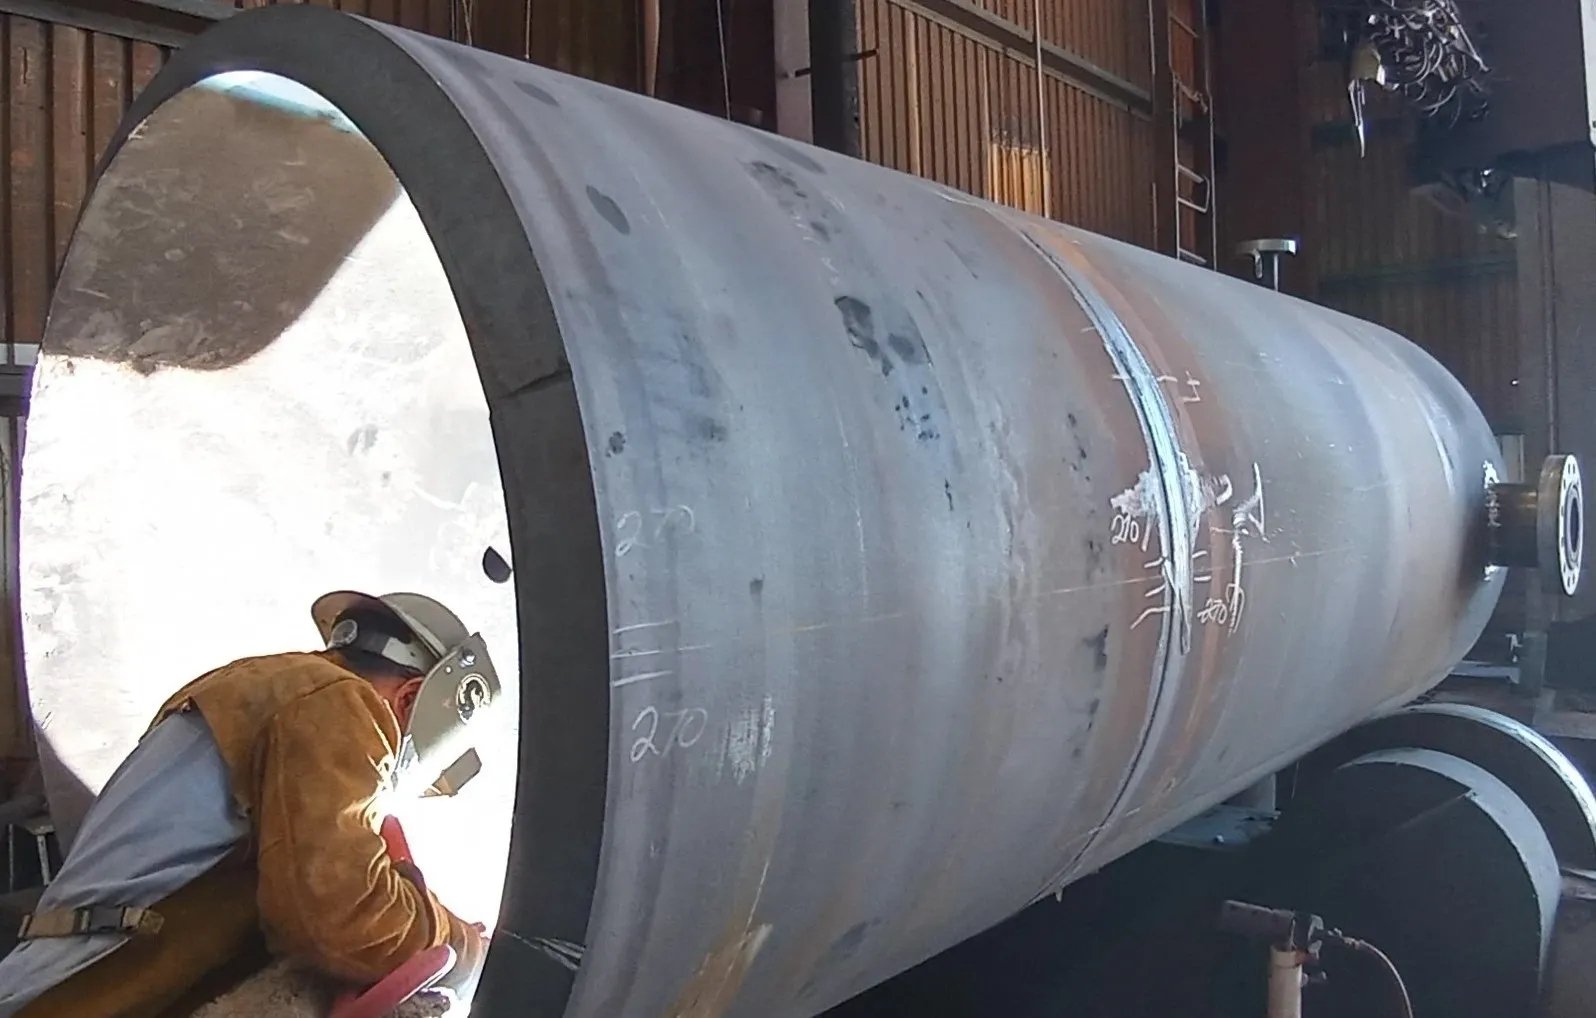
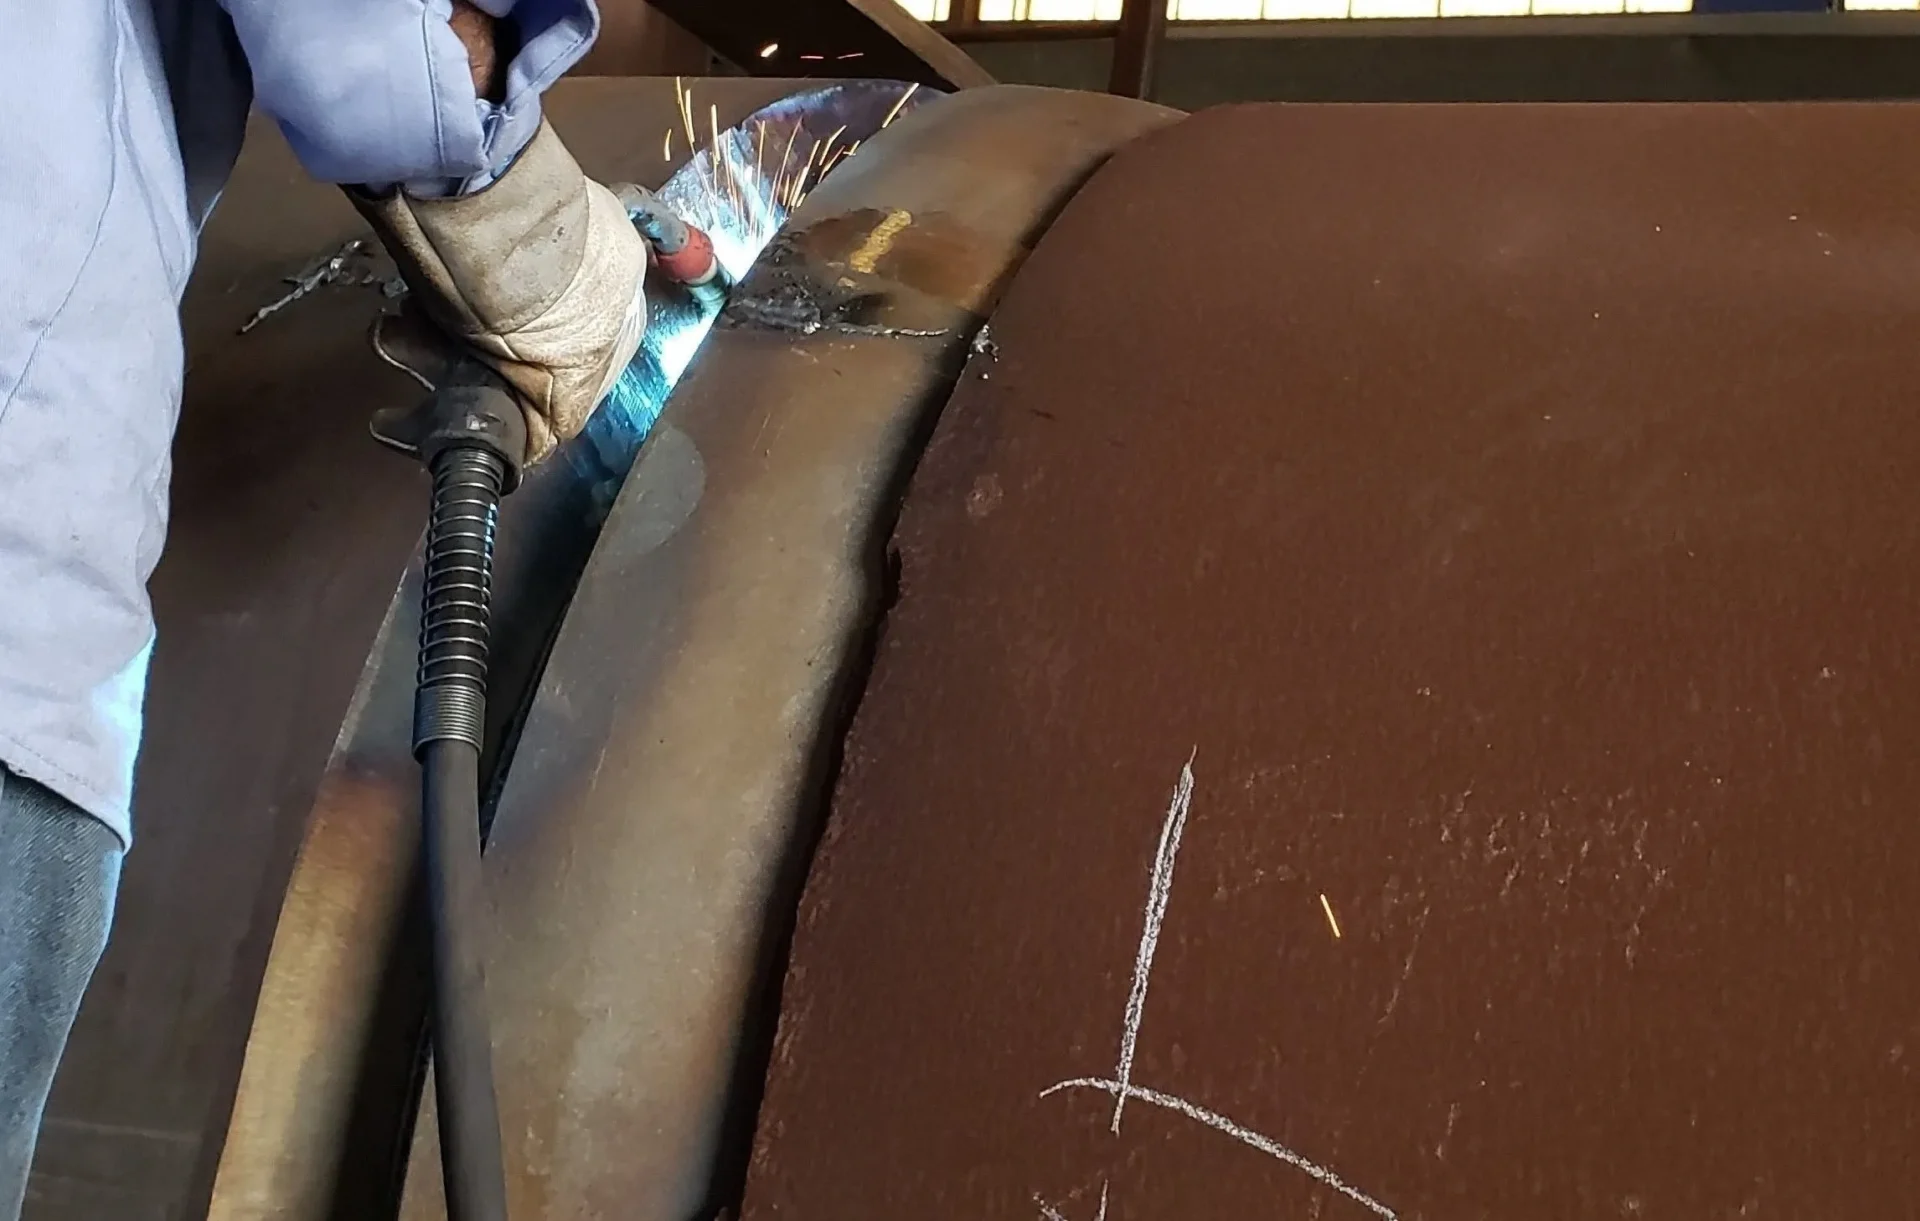
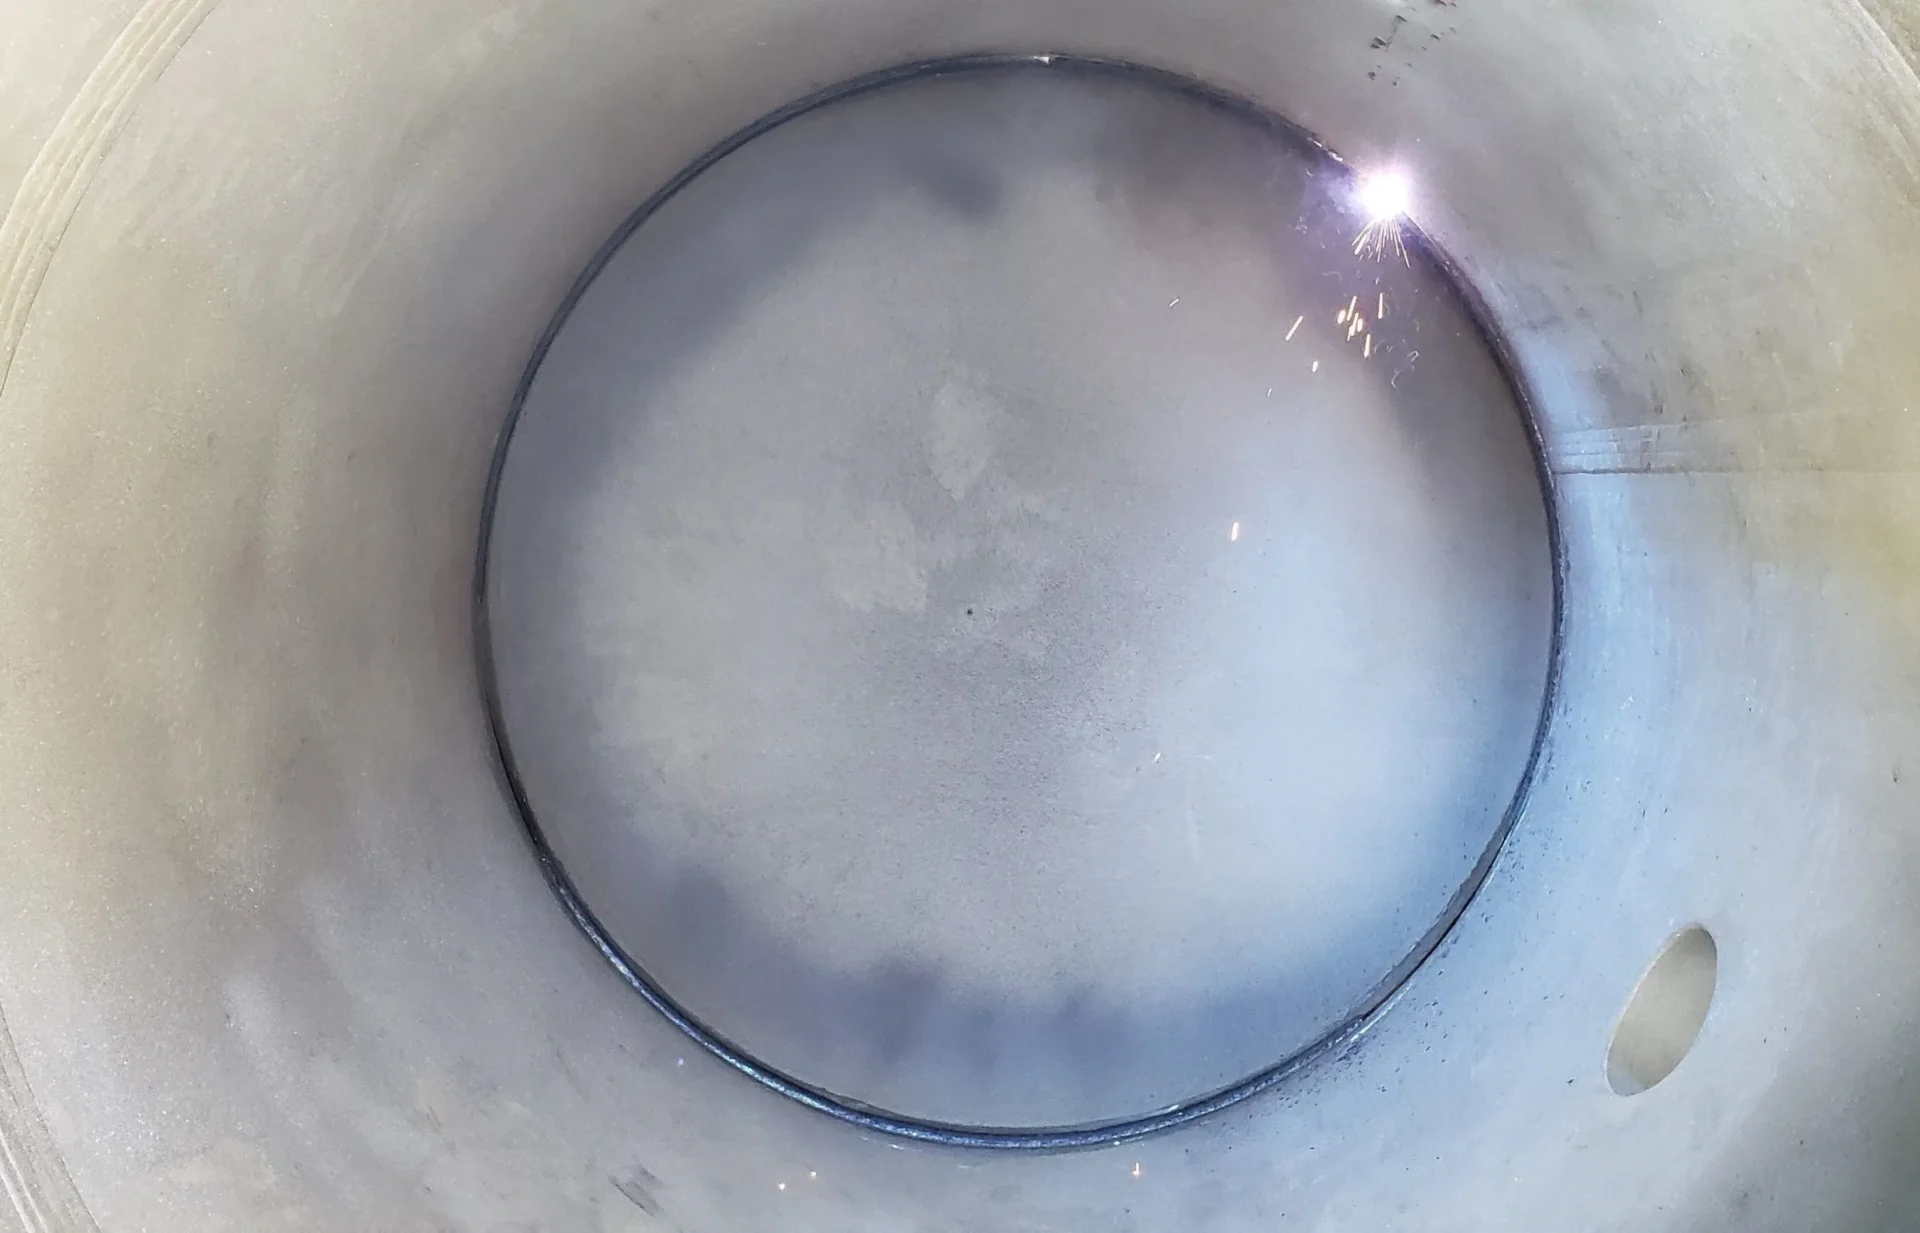
Inspection of the welding rods (solid wire) and flux for the fill passes and cap bead shall find the consumable to be Lincolnweld® 1/8" Ǿ LA-71 (S.A.W process) for SA-516-70N material and Lincolnweld® flux 880M are stored in a heated and controlled environment. Prior to welding at the long seam, preheating is carried out, and monitoring of the preheat temperature is carried out for compliance with QW-406 of ASME Section IX and the WPS. Inspection is also carried out for the interpass temperature and cleaning of slag. After completion of welding at the long seam on the I.D. of cylinders, we carry out an inspection for assurance that back gouging at the O.D. achieves sound metal, plus MT is carried out. Decundi inspection personnel also inspect the weld reinforcement on both the I.D. and O.D. long seam and also the girth seams for compliance with the acceptance criteria of ASME Section V Division 1, UW-35(a).
For pressure vessels with tangent-to-tangent greater than 96", multiple cylinders (shell cans) are required, and Decundi inspection personnel carry out an inspection for the fit-up of cylinder-to-cylinder and also at girth seams at the 2:1 elliptical head. For these inspections, we check for Hi-Lo of the joint as required by ASME Section V Division 1, UW-33, Table UW-33 Alignment Tolerance. Welding of the girth seams is carried out similarly to the narrative stated for the long seam above.
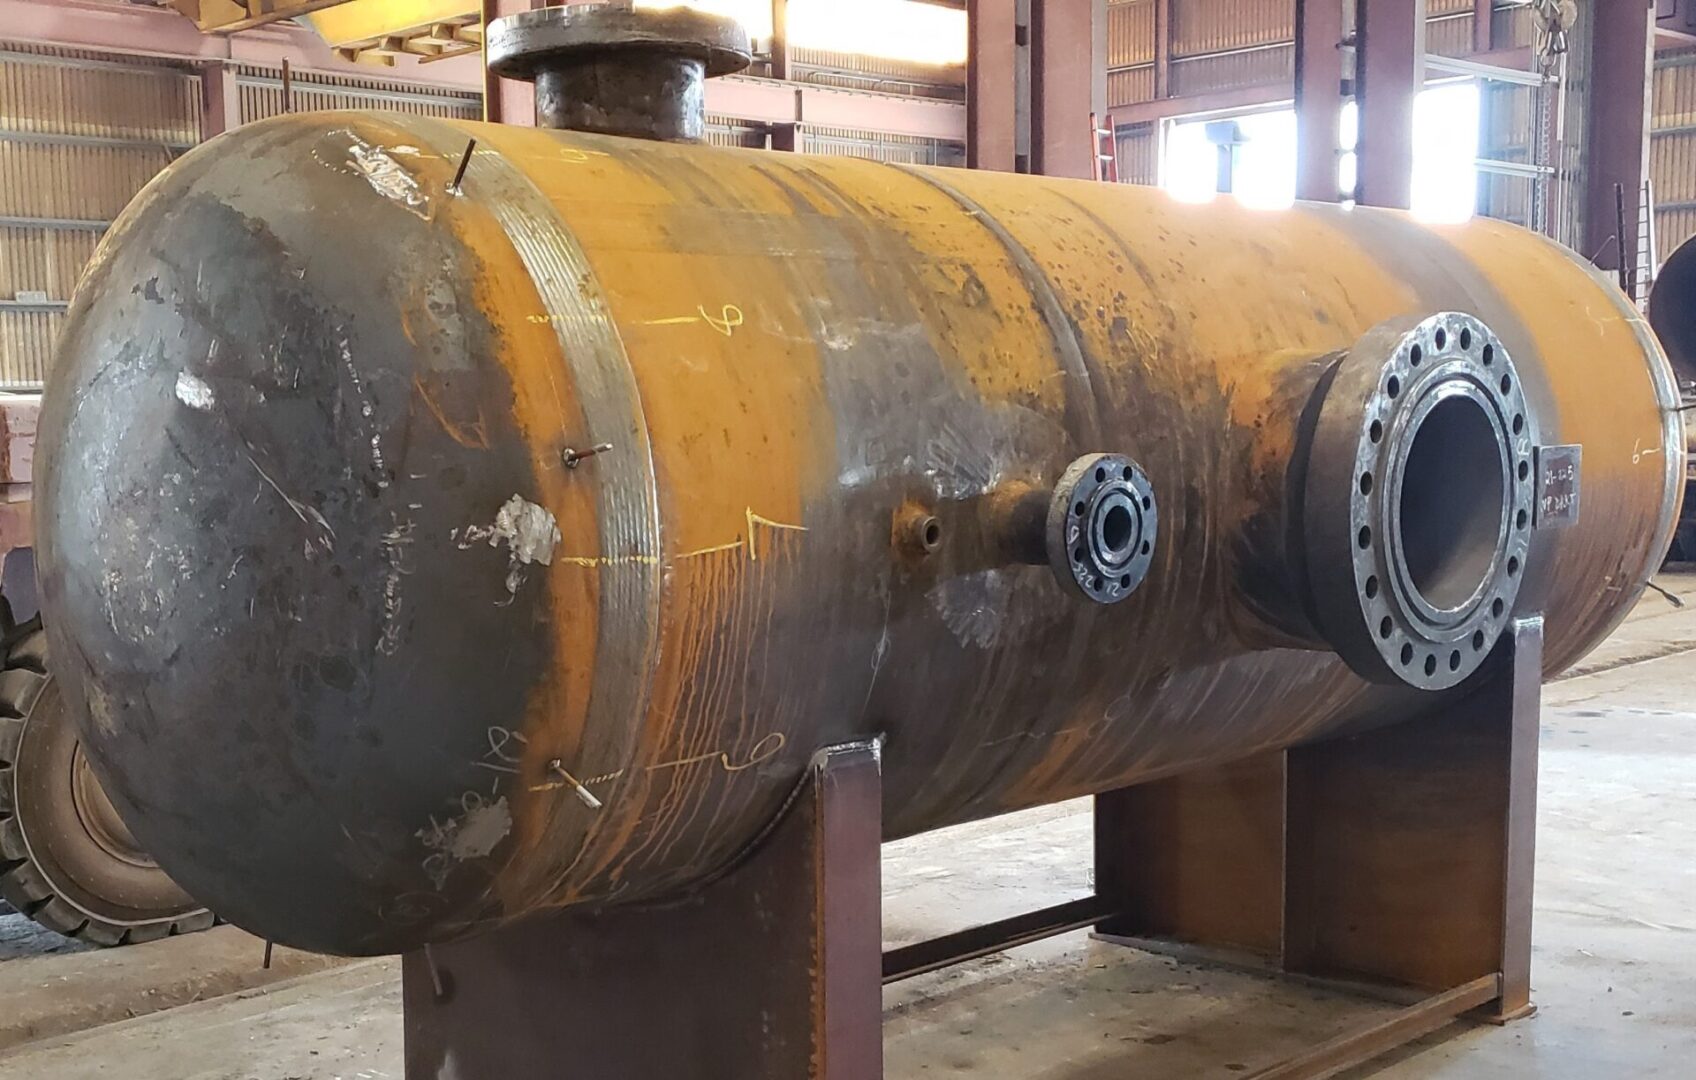
The Anatomy of pressure vessels also includes the fit-up of nozzle and manways, stiffener rings, lifting lugs, tailing lug, downcomers grounding lug, access opening, skirt vents, vortex breaker, and other appurtenances (not mentioned here) and, based on the configuration of the pressure vessel, the equipment will be either supported on a skirt, saddles, support lugs or support legs. Pertaining to the fit-up of nozzle and manways, Decundi inspection personnel carry out an inspection for the openings and weld preparation at the openings for nozzle and manways. Also, we carry out inspections for assurance that the five (5) parameters associated with the fit-up of nozzles and manways are met.
As required for heavy wall pressure vessels, post-weld heat treatment is required, and Decundi inspection personnel carry out a review of X-ray films for assurance that there is no indication in the radiographs that are outside the acceptance criteria of ASME Boiler and Pressure Vessel Code Section V, Article 2 and Article 22; Section V Division I, UW-51. A review of X-ray films is carried out before and after PWHT.
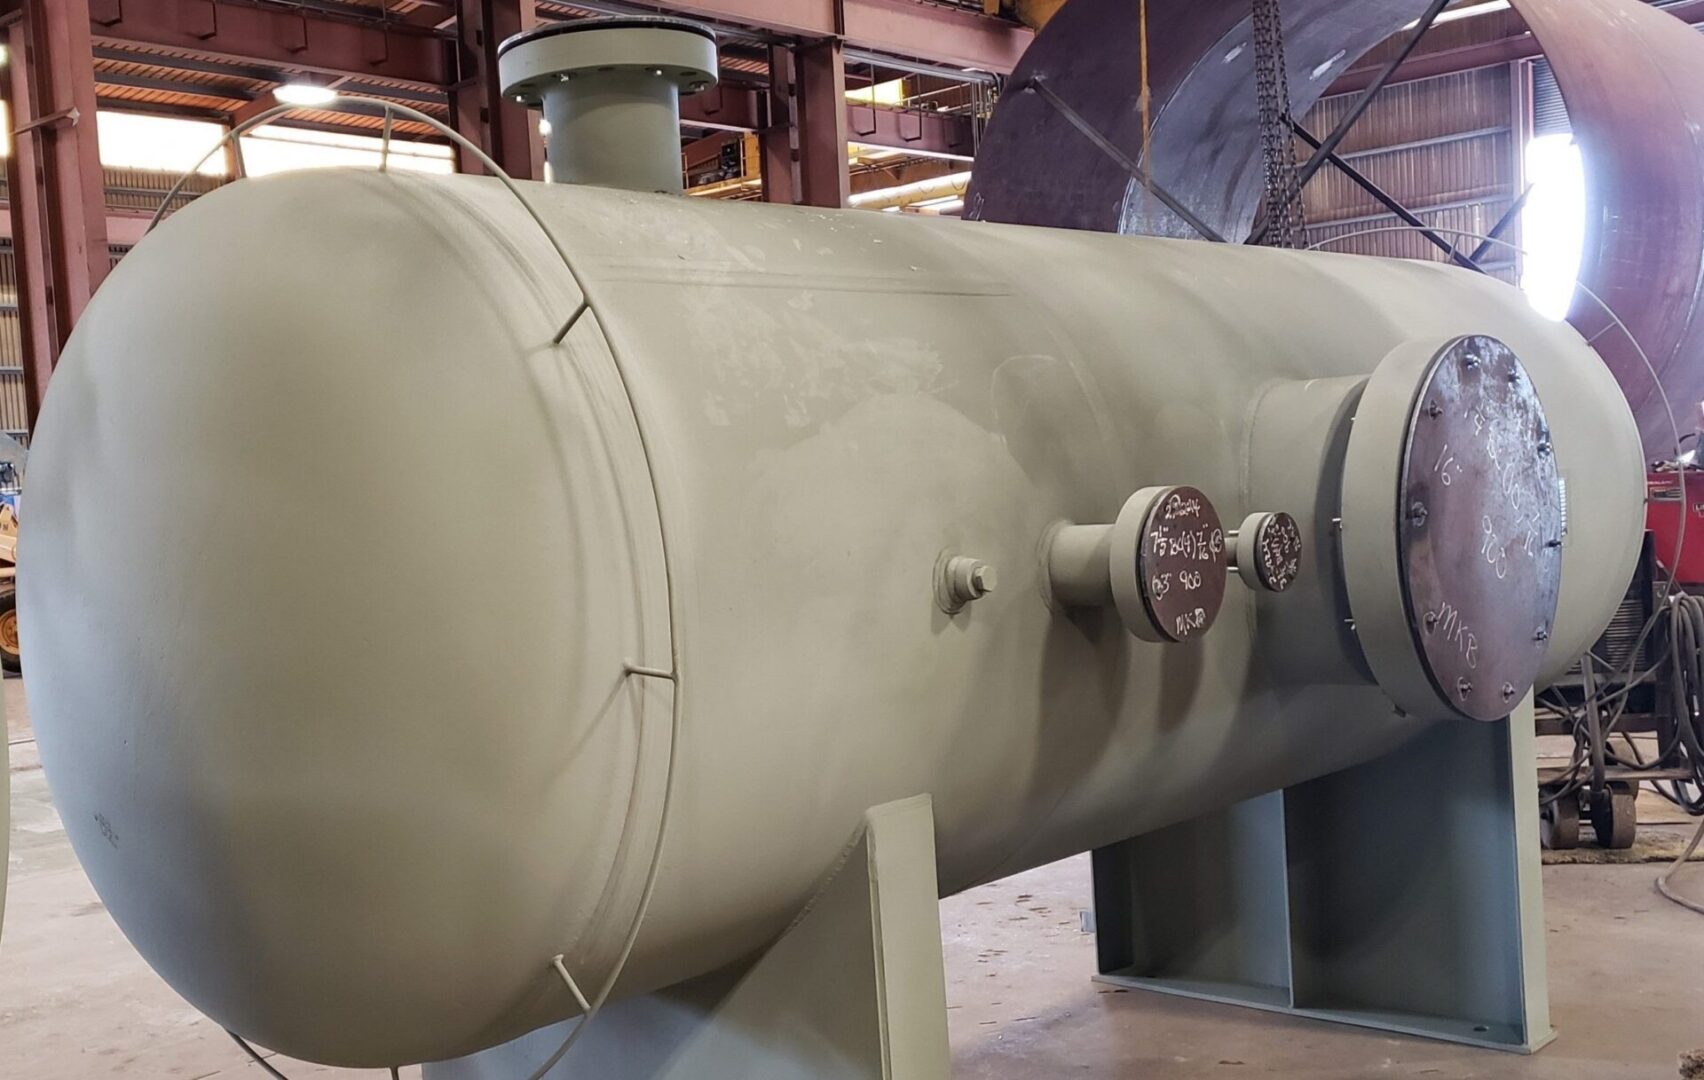
The narrative above relating to X-ray films is one of several non-destructive testing methods carried out on pressure-containing equipment, and in the case of these heavy wall pressure vessels, wet magnetic particle testing is carried out at all weld preparations and at bevels for the nozzle and manway attachment. Also, WMPT is carried out at areas where back gouging and smooth grinding are carried out for assurance of the integrity of the equipment. Following the completion of the fabrication of pressure vessels, Decundi inspection personnel witness hydrostatic testing of the vessels for assurance per UG-99 of the code that leaks and or weeps are not present. We also carry out inspections for abrasive blasting, anchor profile readings, and coating of the vessels, plus loadout of the vessels.

